Since I’ve been so delinquent in posting about pastry school, I’ve decided that in addition to recapping the experience, I should also recreate something representative of each unit.
Here is “Unit 1 – Tarts & Cookies”, a.k.a. learning how to multi-task and break bad habits. During this first unit, we learned three basic tart doughs (pâte brisée (flaky), pâte sucrée (sweet), pâte sablée (sandy/shortbread)), a multitude of custards and other fillings, and the basics of finishing and decorating a tart. Cookies could almost be considered a filler topic, but they were a perfect fit for this unit considering the similar techniques for mixing and baking.
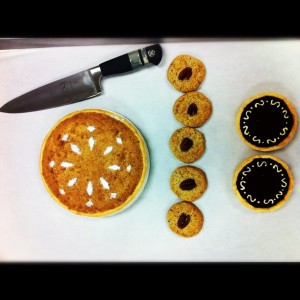
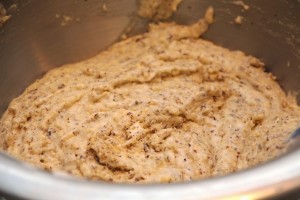
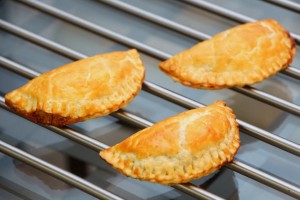
To pay homage to this unit, I decided to see what happens if I take a traditional nut tart (tarte aux noix) and convert it into empanadas. The nut tart we made in class consists of pâte brisée dough formed in a tart ring, lined with raspberry jam and sliced almonds, and baked with a nut flour filling (almond cream, hazelnut and almond flours, French meringue). This was actually the tart I received on my unit exam (on the left):
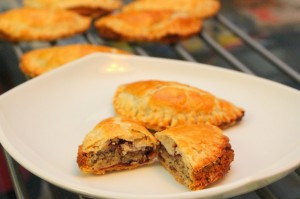
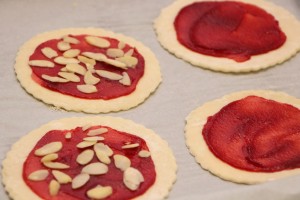
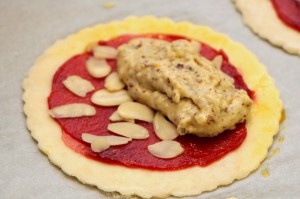
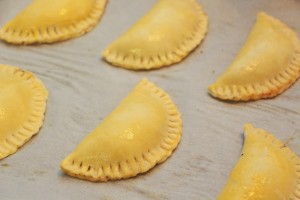
For the empanadas, I rolled and cut the dough into 4-5″ circles, spread the jam and sliced almonds, and then folded and sealed the empanadas with the nut flour filling inside.
Someone should make this into the next cupcake or macaron fad and call it “Sweet ‘Nadas”. Just a thought!
I baked these at 350˚F for about 30 minutes. The filling poked out on a couple empanadas, but otherwise the end result was better than I expected! The crust was flaky and buttery, the sliced almonds had a nice crunch, and the filling retained the nut tart’s depth of flavor from the nut flours and tangy raspberry jam. In fact, the taste of this might have been even better than the nut tart since each bite had two layers of flaky crust and raspberry jam instead of one.
Getting back to pastry school itself, what was our crash-course introduction to pastry school like? Well, here is my vague, but I think accurate, recollection of Unit 1 – Tarts & Cookies:
Each night of Tarts & Cookies, we had to complete two, three, even four desserts, all in progress simultaneously. Accomplishing this required doing our homework (assigned reading on techniques and recipes), coming to class prepared with an understanding of the steps that would have to be accomplished during the 5-hour class period, keeping track of tasks and timing, learning to prioritize when inevitably we fell behind schedule, somehow always maintaining a clean tabletop . . . and at the same time learning about food safety and handling in order to obtain our ServSafe certification.
Let’s not forget the most important task: following Chef’s instructions, or risk getting yelled at. This last part is a lot harder than you would think when you have all of the above to keep in mind and are asking yourself things like: “Does mixing on “low speed” mean speed 2 or 3? Does it matter? How exactly do I turn the bowl with my left hand while folding with my right hand? How far do I turn the bowl, 90˚ or 180˚? Do I zest a lemon by holding it on top of the microplane and moving the fruit back and forth, or the other way around? What does Chef mean to ‘bake until it’s done’? When is something ‘done’? Am I the only person thinking this? Do I look stupid?”
The lesson I learned at the end of the day is, stop wasting time thinking about these silly things and just start doing. Chef will certainly correct me if I’m screwing up. And, at the end of the day, once I started understanding the technique and developing a “baker’s instinct”, what really mattered was just doing what was effective, efficient, and least likely to give me carpal tunnel syndrome 😉
A few of my favorites from Unit 1:
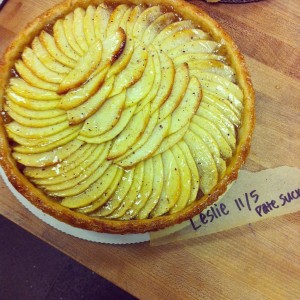
Apple Tart (Tarte aux Pommes): Made during the first two nights of class! Pâte Sucree crust, apple compote, sliced apples and nappage glaze.
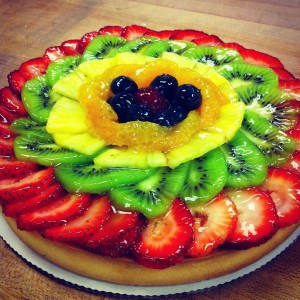
Fresh Fruit Tart (Tarte aux Fruits Frais): pâte sucrée crust, pastry cream filling, fresh fruit and nappage glaze.
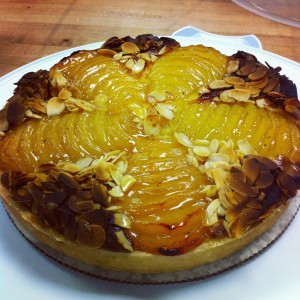
Pear and Almond Tart, Bourdaloue Style (Tarte Bourdaloue): pâte brisée crust, almond cream filling, poached pears, sliced almonds and nappage glaze.
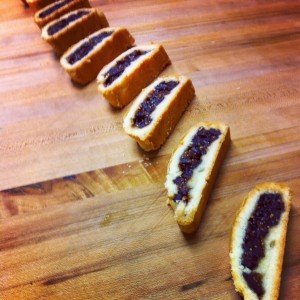
Fig Newtons!

