Strawberry Pies & Tarts – Happy 4th of July!

| Holidays

Happy 4th of July!

Ever since I sampled the deliciously ripe and sweet strawberries at the local farmer’s market this summer, I knew I had to find an occasion to make some strawberry pies and tarts.

Growing up, a fresh strawberry pie was a household favorite, especially with my parents. When it came to their birthdays or anniversaries, forget the cakes and chocolates — nothing beat a Marie Callender’s fresh strawberry pie. Believe it or not, I have never made a pie. No real reason other than, I never got around to it, and it was always someone else’s specialty. But now that I’ve realized how easy it is to recreate a household favorite, there will certainly be more pies coming out of the Milo’s Bonbons kitchen.
IMG_2770

IMG_2771

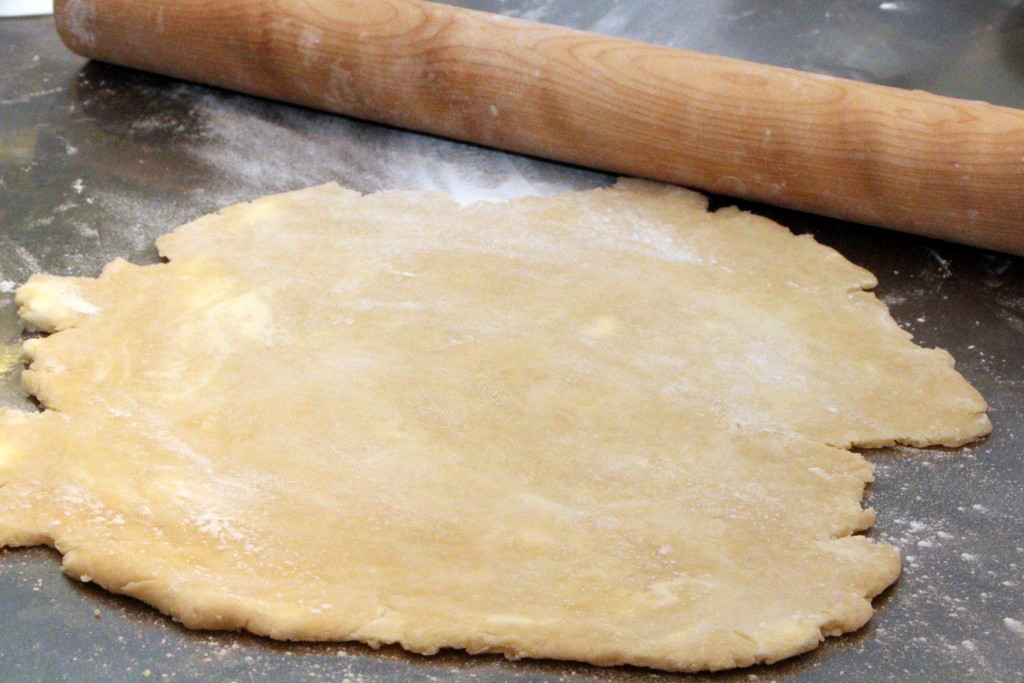
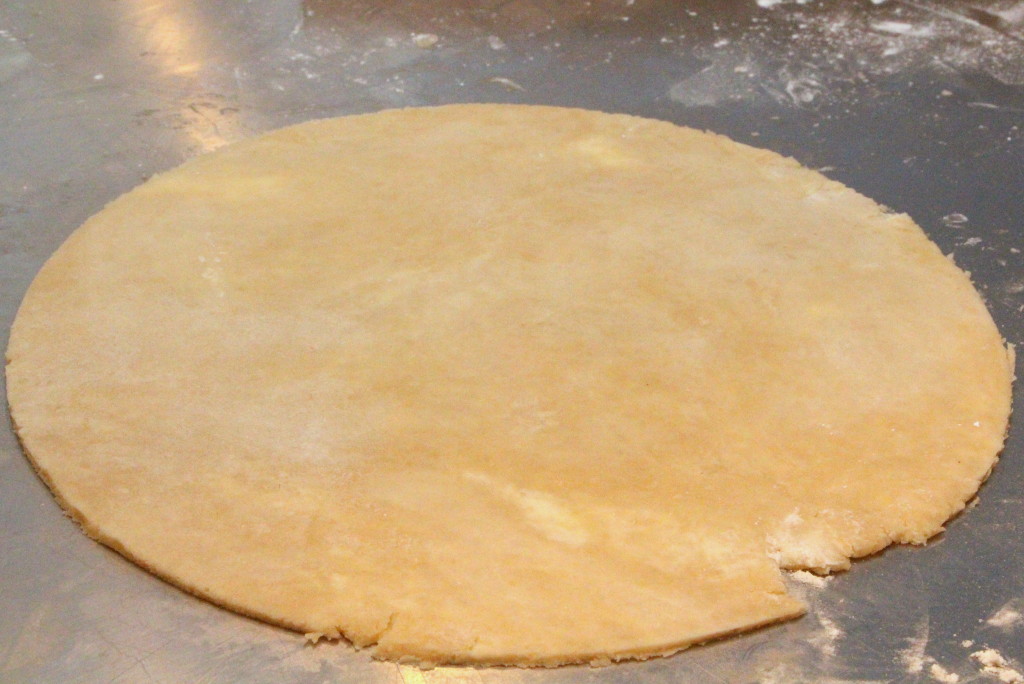
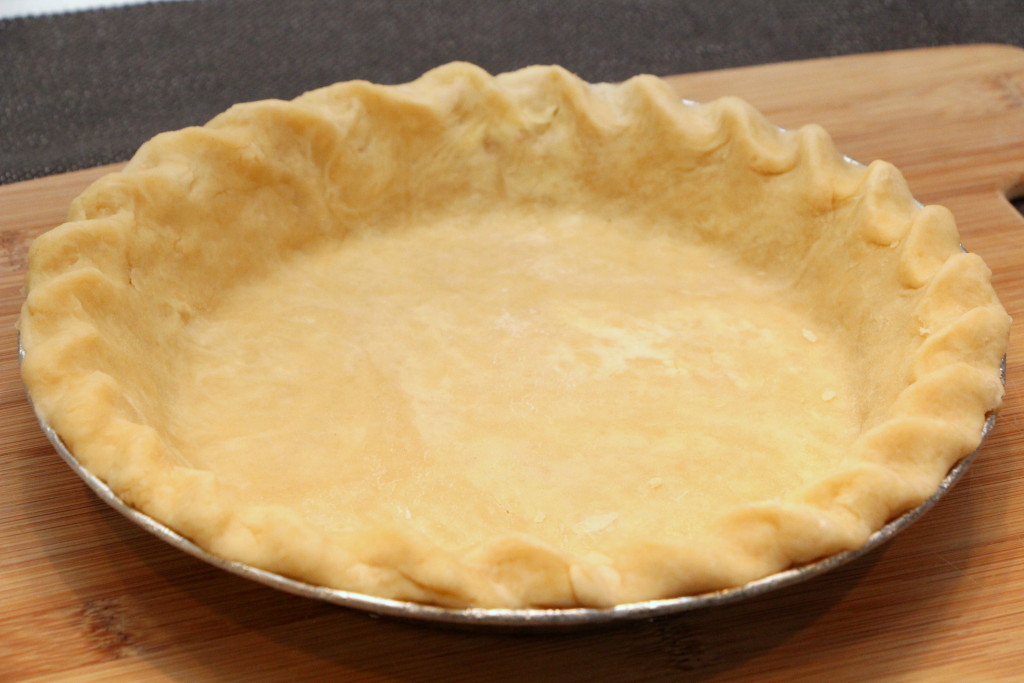
The crust in this pie is the only part that requires any real work. And even then, it doesn’t take much. I used a standard cut-in butter recipe based on Cook’s Illustrated. I generally followed the recipe but relied on my pâte brisée experience for assembly. I also used primarily butter (with very little shortening, in anticipation of the trans fats ban), and primarily vodka (with very little water to avoid gluten formation). The result is quite tender and flaky.
IMG_2856

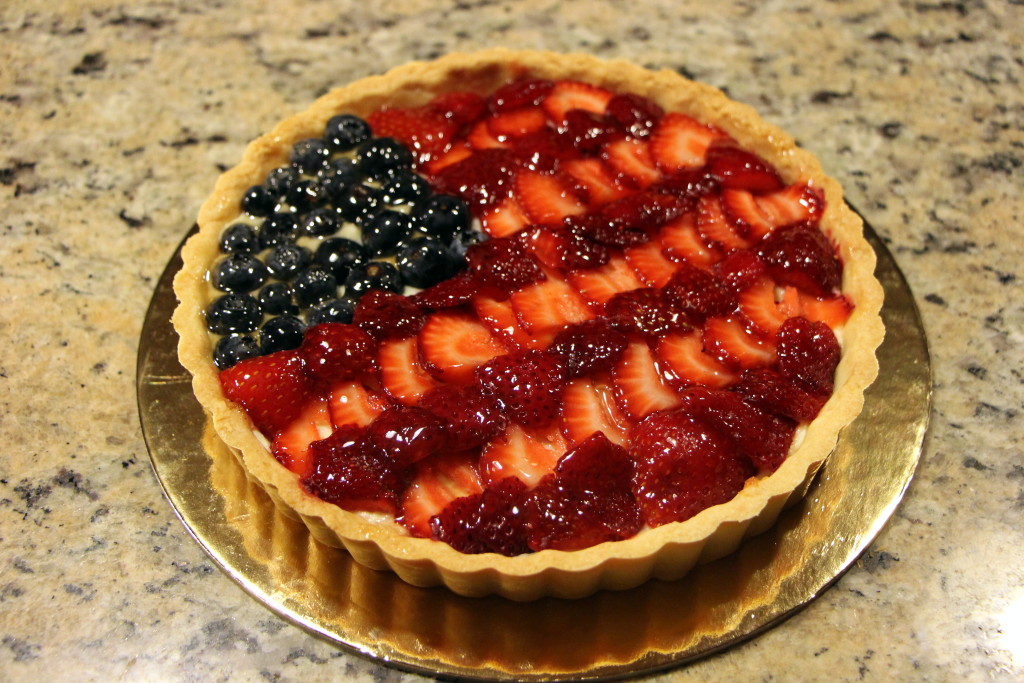
I didn’t make the glaze from scratch. Instead, I mixed Marie’s strawberry glaze (you can find this at a regular grocery store in the produce section) with Marie Callender’s own strawberry glaze. The former is cheaper and accessible, while the latter is more flavorful (my guess is probably due to actual strawberry puree content). After the crust is baked and cooked, toss strawberries in the glaze and fill the crust as high as you’d like!
IMG_2872

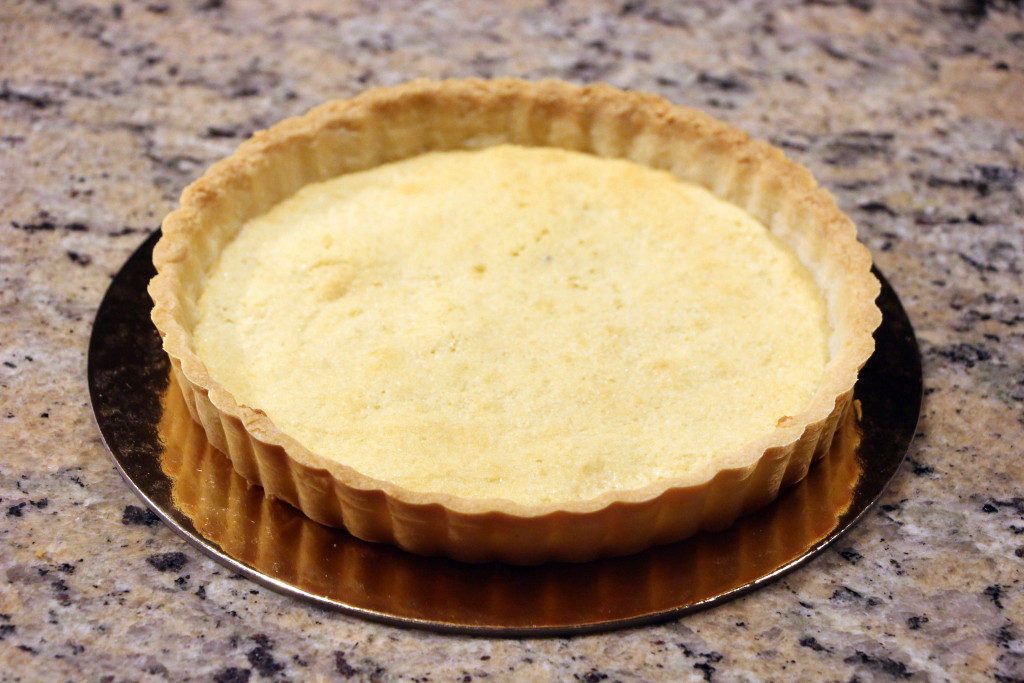
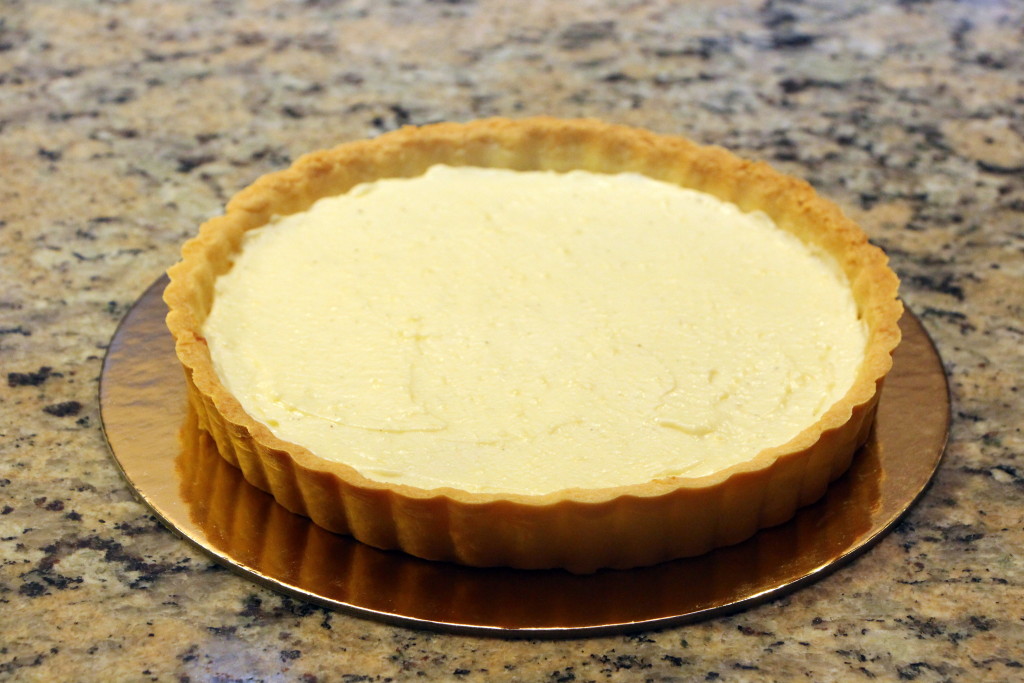
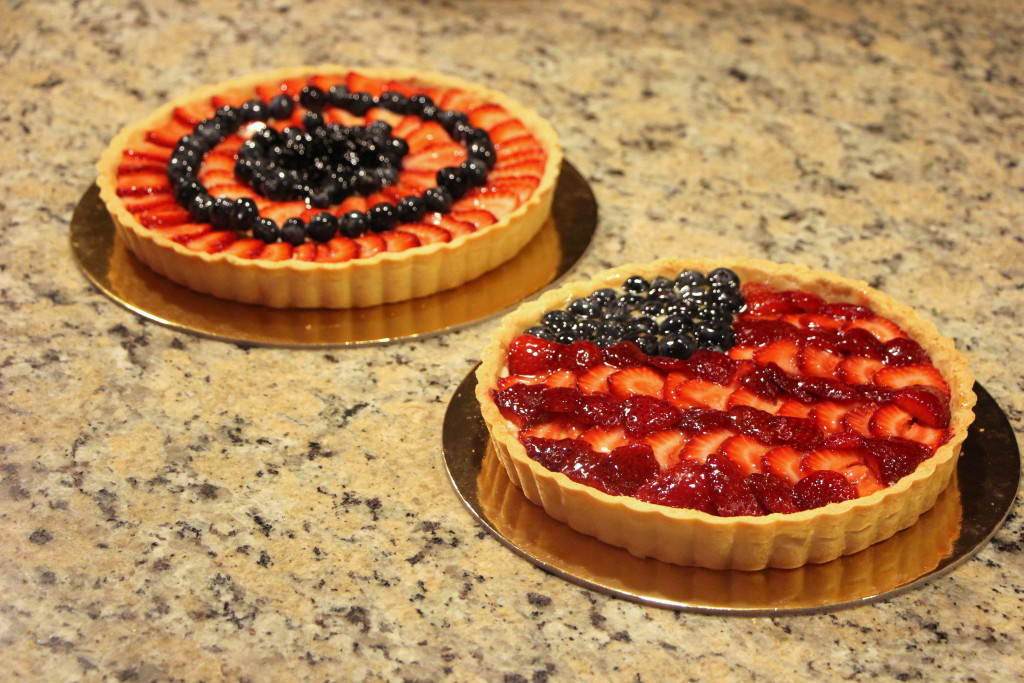
As for the festive tarts, they are made with a pâte sucrée crust, baked with a thin layer of almond cream, topped with custard, sliced strawberries and blueberries, and then sealed with apricot nappage.
IMG_2857

IMG_2867

This takes a little more work than the pie, but not by much!
IMG_2875

0 comment

Baby Shower | Congrats Roxana & Al!

| Baby Showers, Featured

IMG_2836

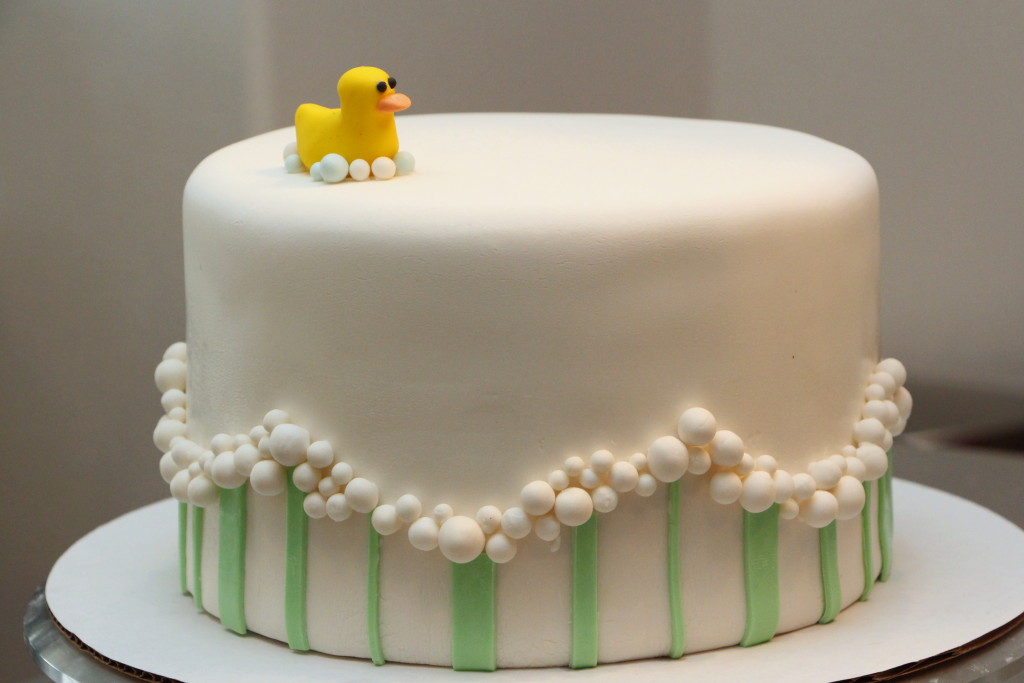
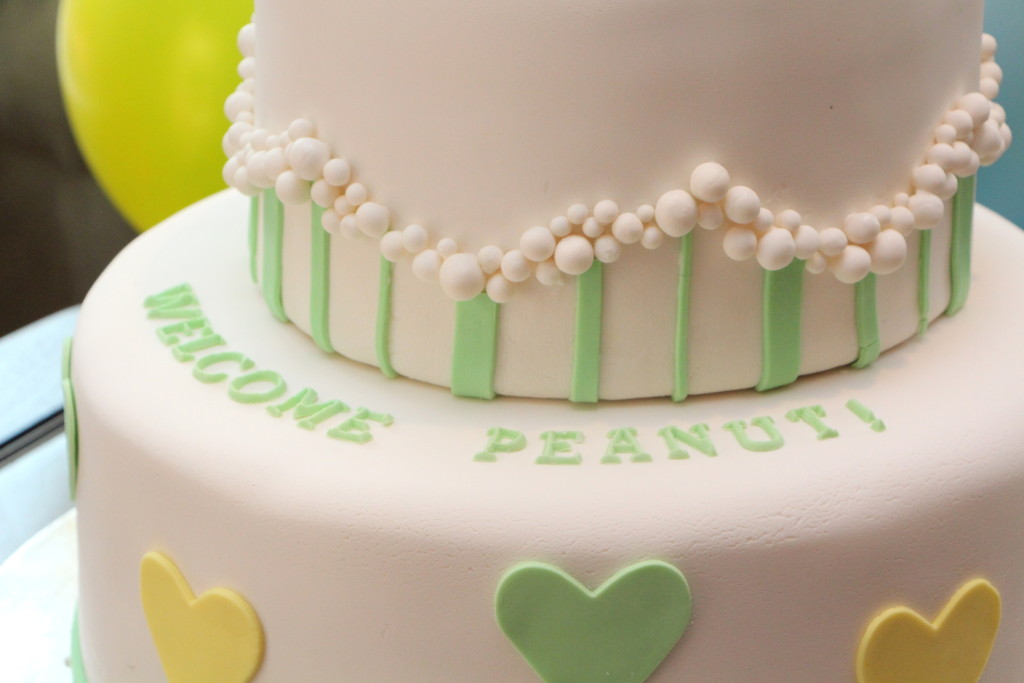
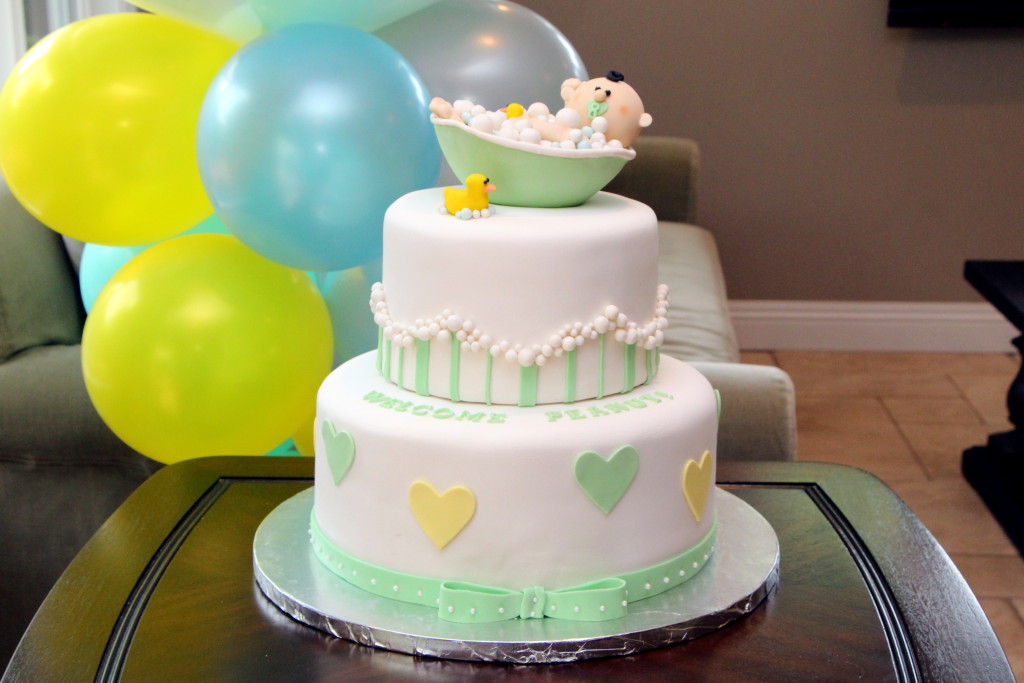
You can’t help but smile when you see this two-tiered baby shower cake. Although the design is based on photos of cakes from a New York bakery (provided by the sister of the expectant mom), I was still offered creative license, and there is something fun and challenging about figuring out “how they did it.” Sometimes customers give me basic directions and entrust me to make something interesting, and other times, they have a very specific image or idea in mind. I’m happy to make it happen, either way!

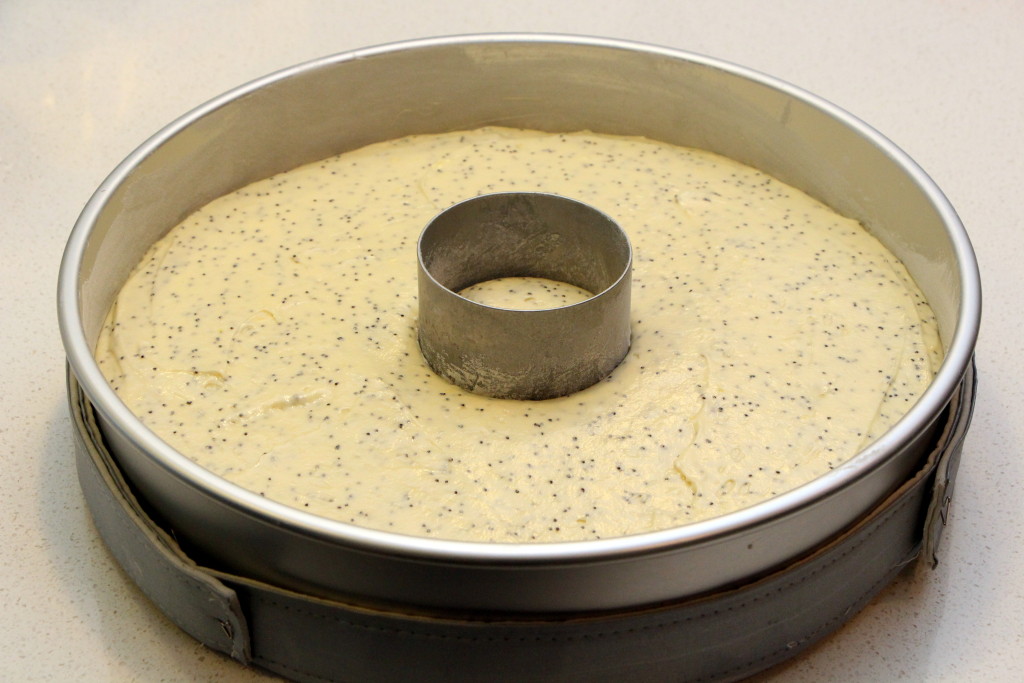
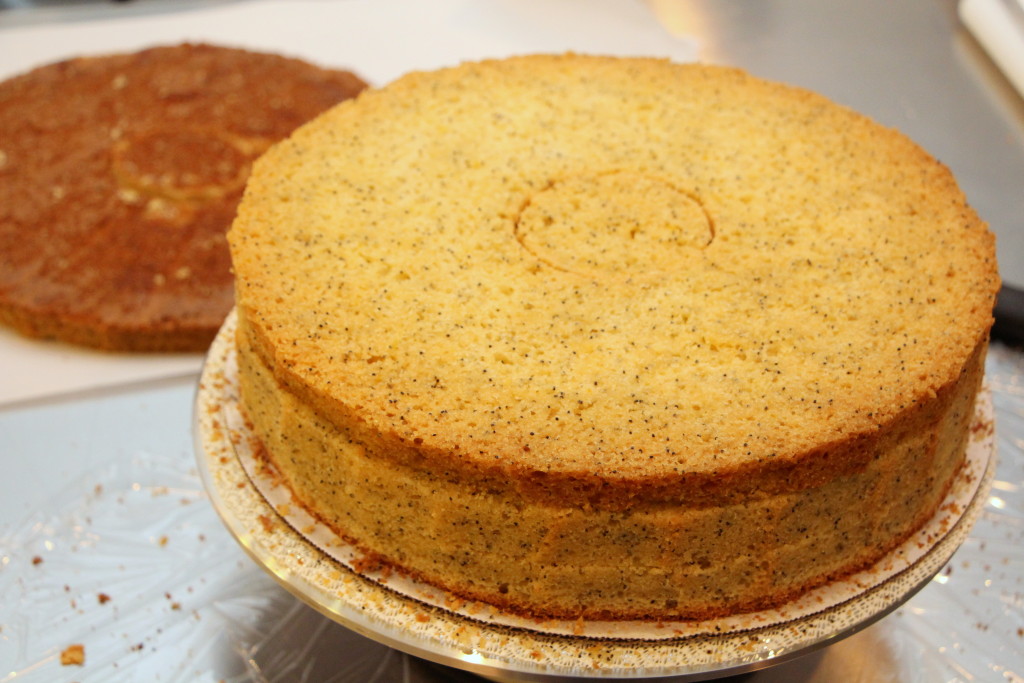
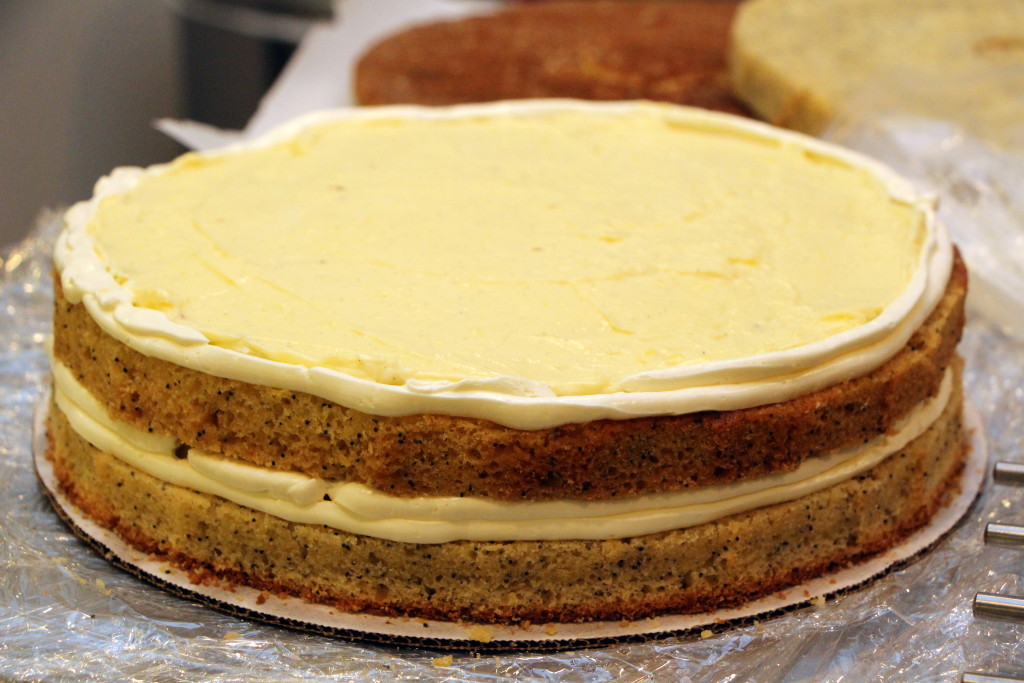
The bottom tier is a 12″ citrus poppyseed pound cake, with lemon curd and pastry cream custard filling. I say “citrus” because I used primarily grapefruit juice, with some lemon juice, to flavor the cake itself. The pound cake made for a hefty cake. We sure got our workout moving this piece around.

IMG_2811

IMG_2813

'

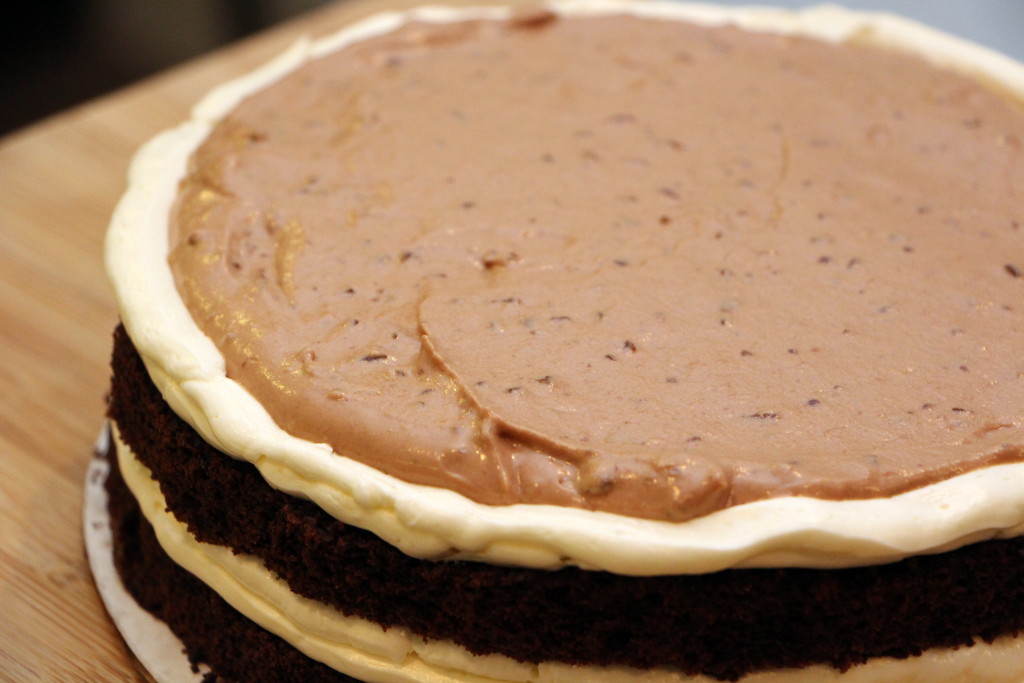
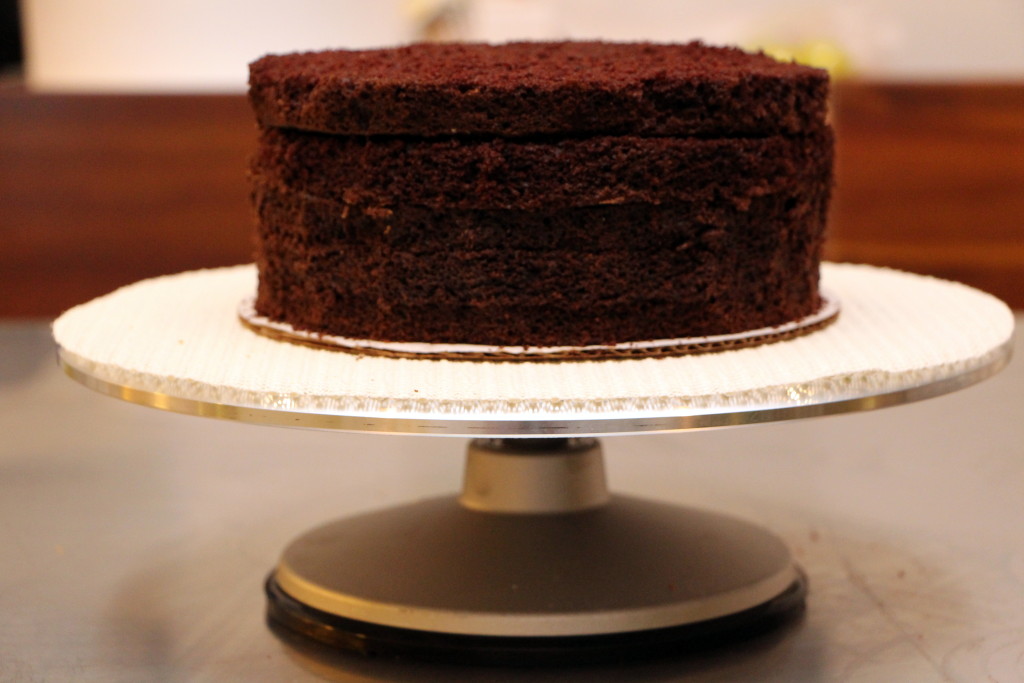
The top tier is an 8″ chocolate layer cake with alternating layers of dark chocolate mousse and milk chocolate mousse with chopped milk chocolate bits. The expectant parents told me this reminded them of their favorite “Bibi’s cake” from their hometown of Iran, that they’ve searched for but haven’t found in the past 12 years in the US. Lucky coincidence perhaps, but what a compliment!

IMG_2830 IMG_2824

The cake is covered in fondant, with fondant-gumpaste decorations. This was my first time using tappits for lettering, and it was easier to use than expected.

IMG_2843

IMG_2851

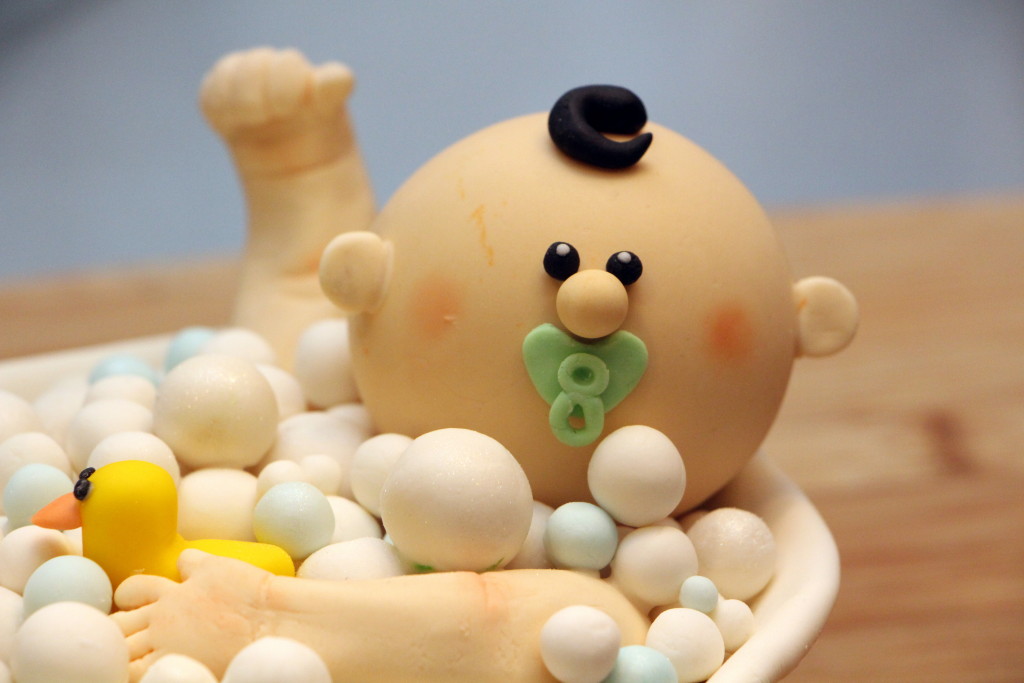
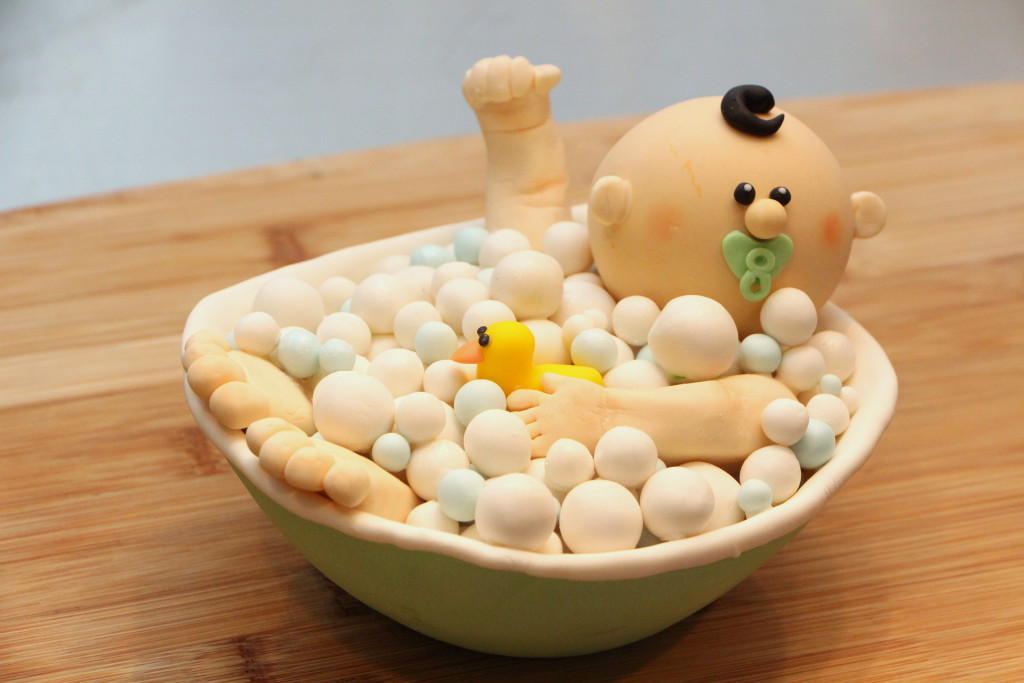
As for the cake topper, the baby bath was made first by molding gumpaste in a bowl, letting it dry, and then covering with a thin green fondant-gumpaste layer. I placed a concave disc of gumpaste inside the bath to take up volume (without adding weight) and prop up the baby’s head, feet and arms (yup, there was no body or legs . . .). Then, I individually glued white and blue “bubbles” with royal icing to fill in the bath. Finally, I dusted a few bubbles with pearl luster dust to add dimension.

IMG_2838

As you can see, the baby’s head was a bit heavy. Once placed on the cake, the bath depressed into the cake on one end. I was a little stressed about whether it would keep sinking, but I hear it held up just fine. Also, depending on who you asked, it might have ended up looking better that way!

IMG_2846

1 Comment

Wedding | Sandy & Mike in Malibu

| Featured, Weddings

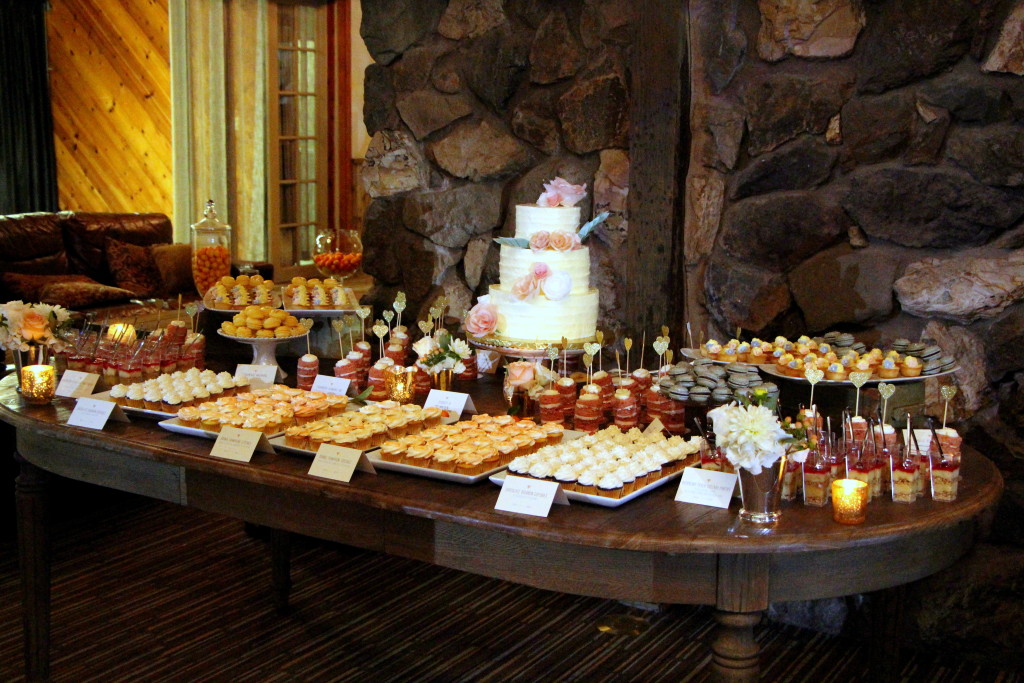
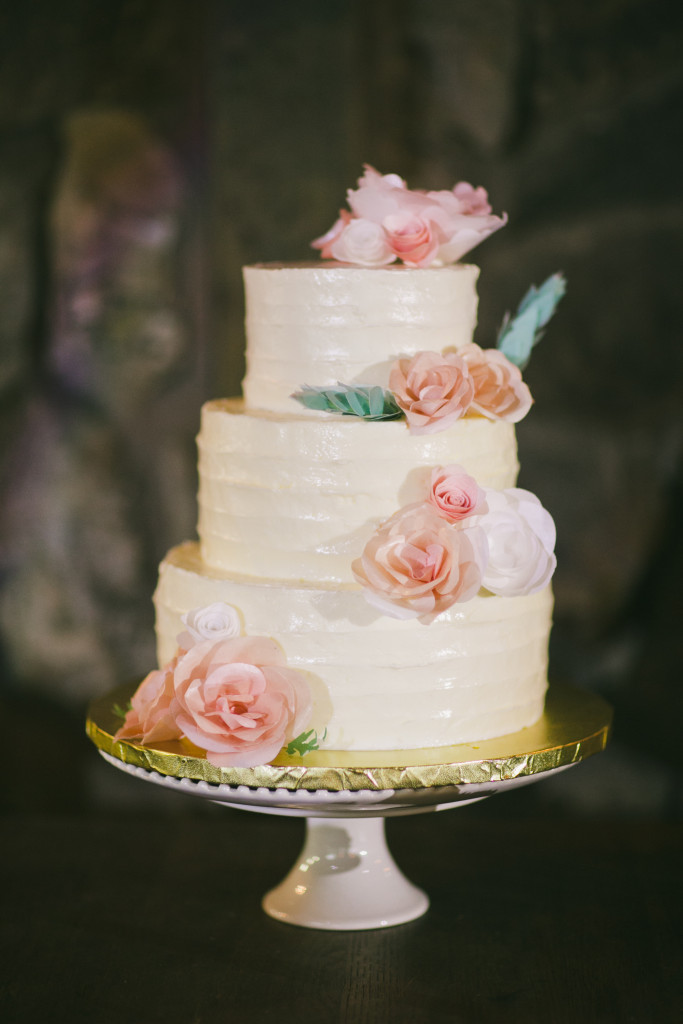
I previewed, but never got a chance to feature, the event that premiered the new Milo’s Bonbons logo. At Sandy & Mike’s wedding in Malibu earlier this year, we set up a dessert table with a wedding cake centerpiece. It was colorful and fun, and a real smorgasbord of sweets.

 IMG_2586

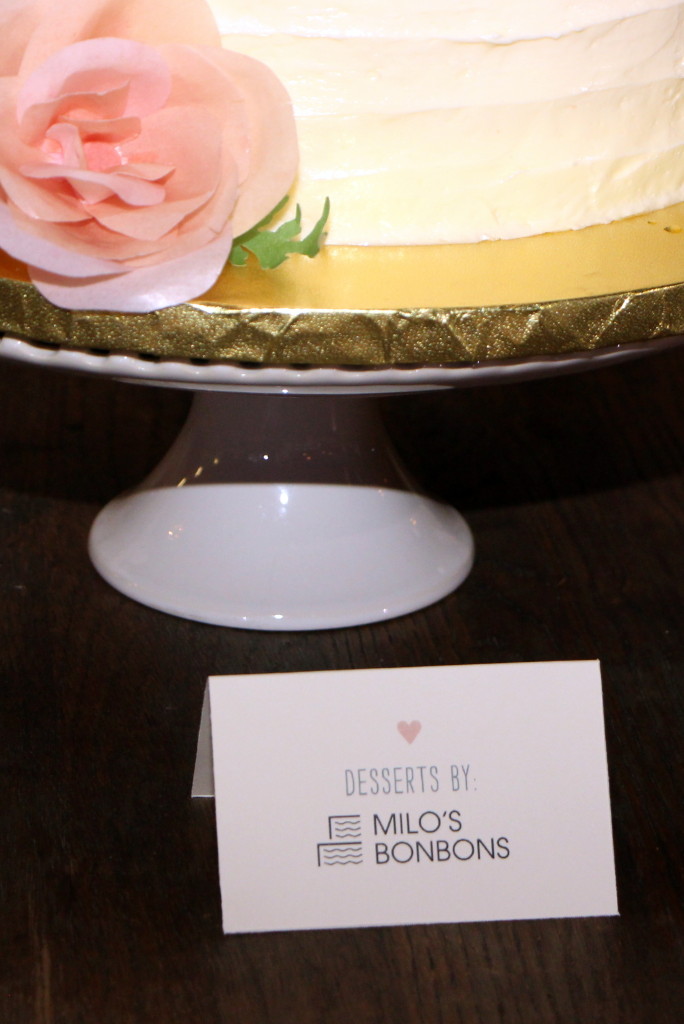
I had a lot of fun collaborating with the bride and groom on interesting flavor ideas and presentation. They were excited to present unique desserts that featured some of their favorite flavors like Earl Grey tea, bourbon and peach. I was also inspired by their wedding colors, which were along the lines of coral and slate blue. What made the experience really special for me was the abundance of support and enthusiasm the couple had for Milo’s Bonbons. It was amazing seeing the tent card signs they printed for the desserts, especially the “Desserts by Milo’s Bonbons” sign. Thank you Sandy & Mike!

IMG_2576-edit

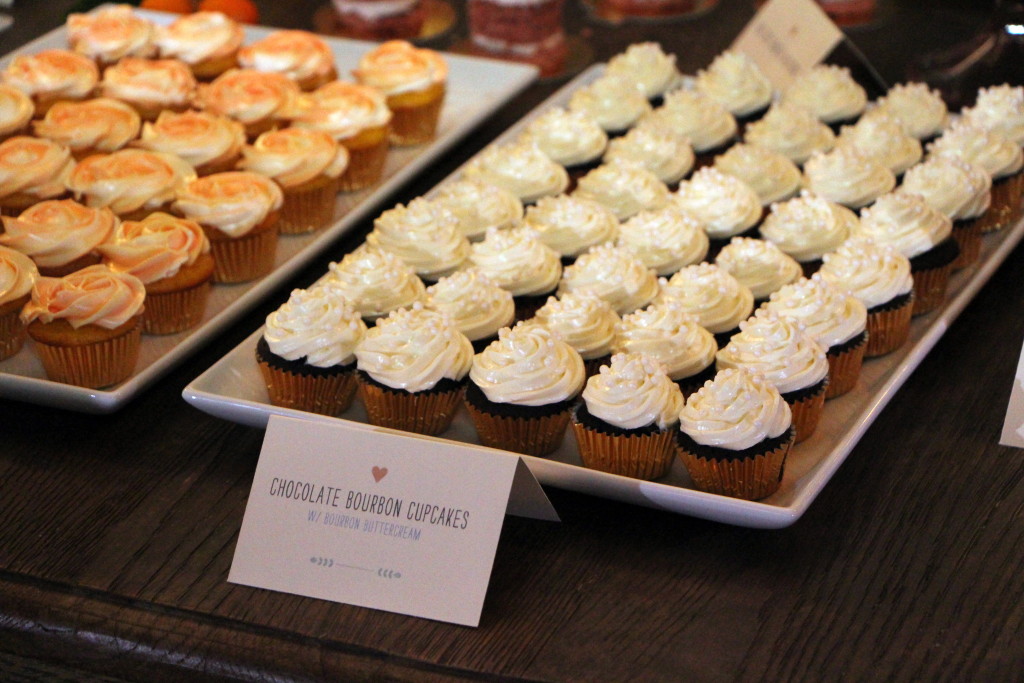
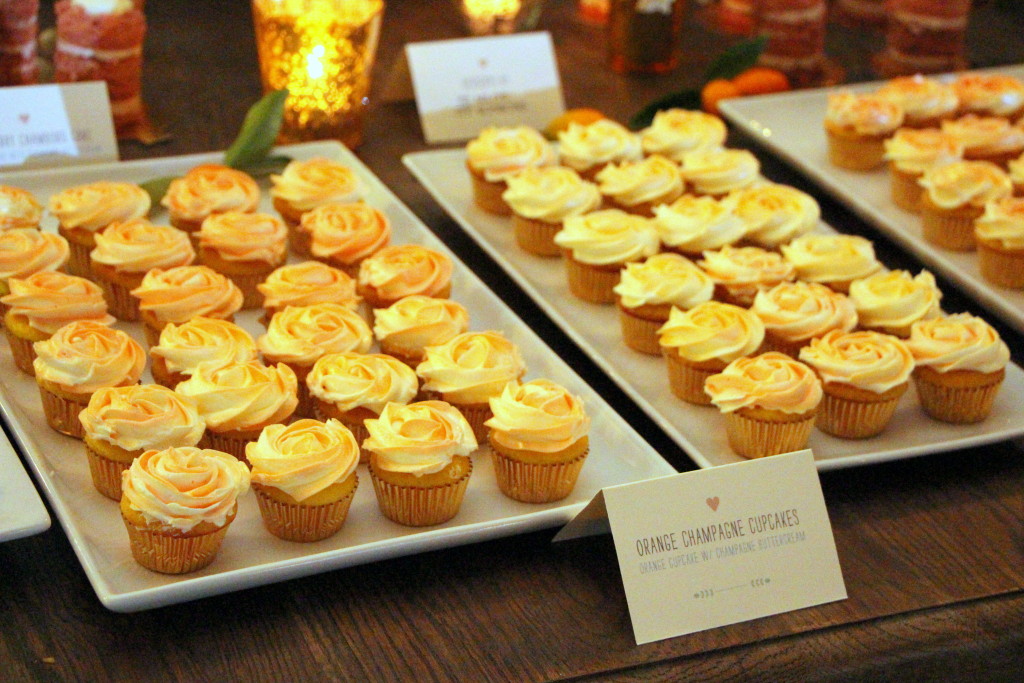
The dessert table featured mini cupcakes, macarons, tarts, mini cakes and parfait cups. For the cupcakes, I made two types: a chocolate bourbon ganache cupcake with bourbon buttercream, and an orange cupcake with champagne buttercream.

IMG_2590 IMG_2587

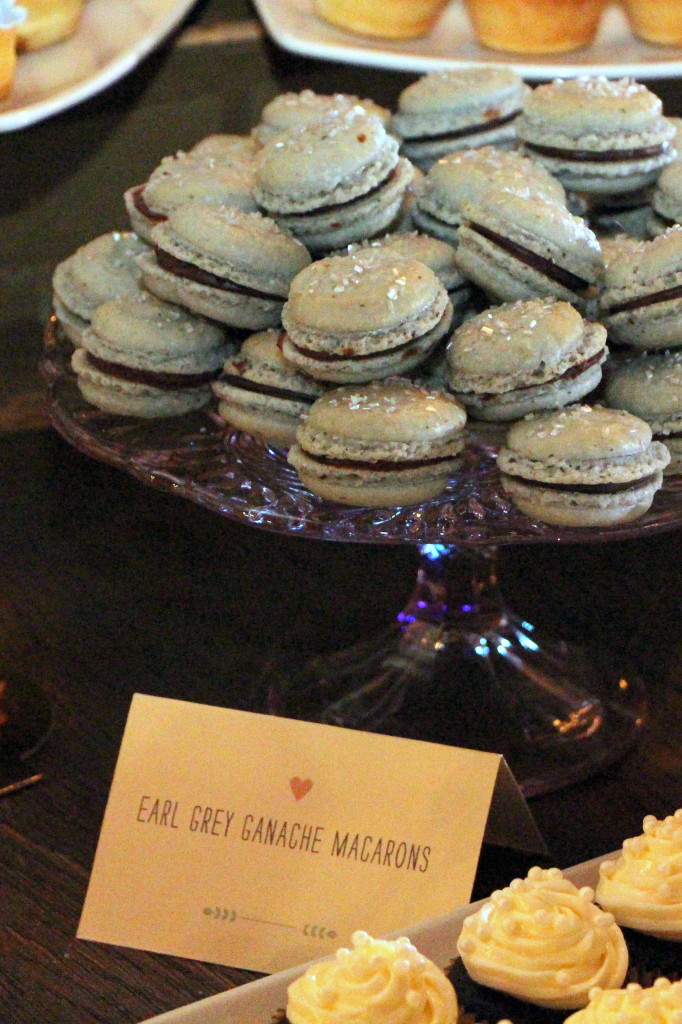
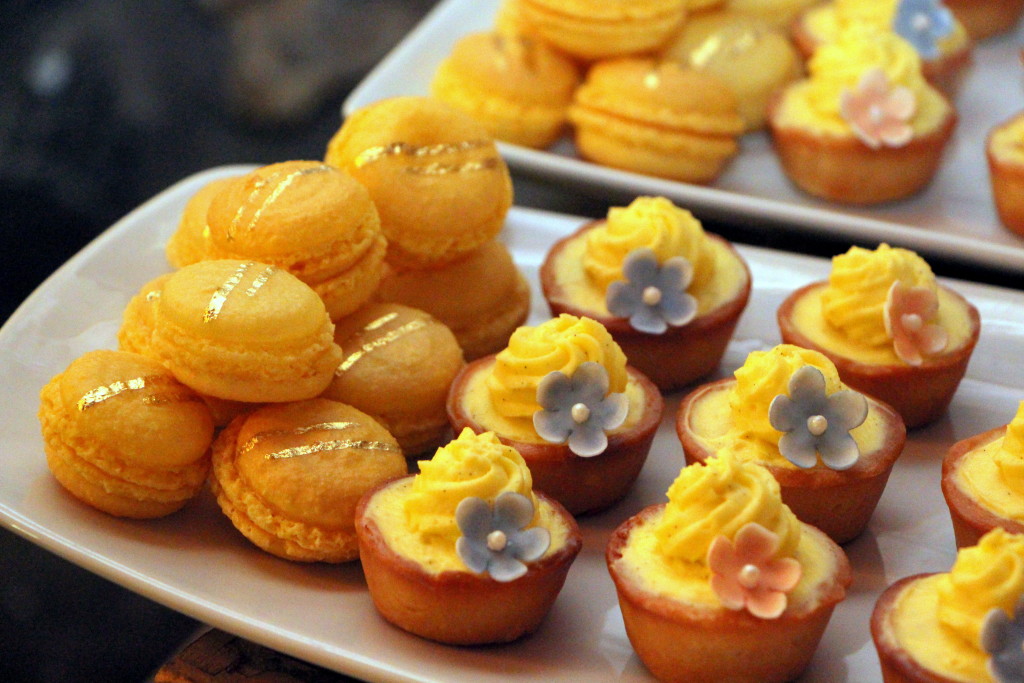
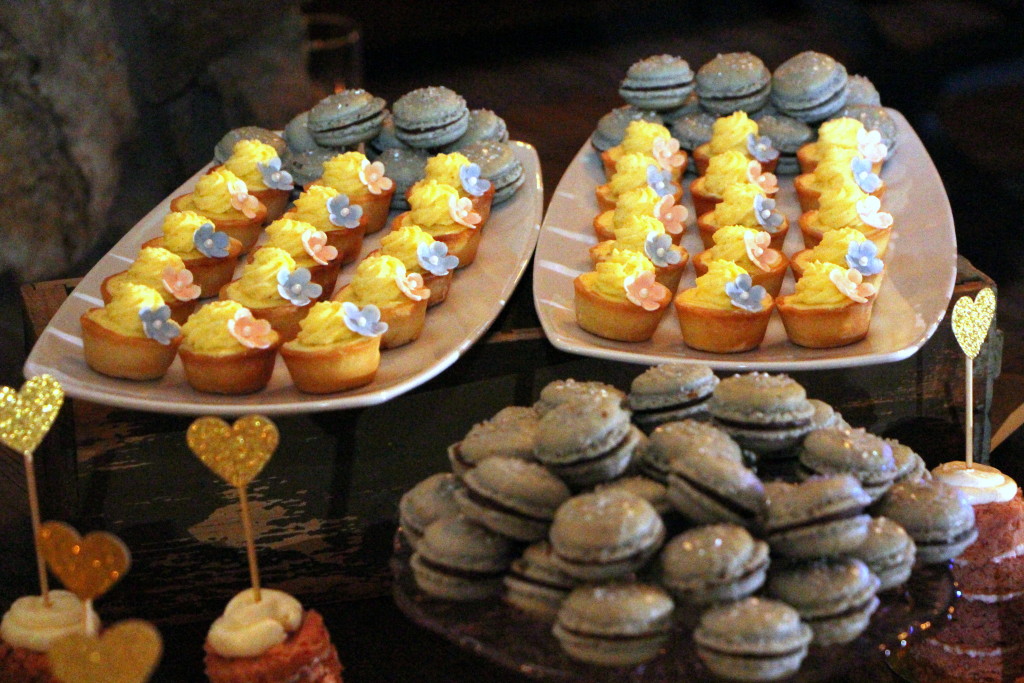
For the macarons, I made two types as well: an Earl Grey chocolate ganache macaron, and a passion fruit pastry cream macaron.

IMG_2602-edit IMG_2597

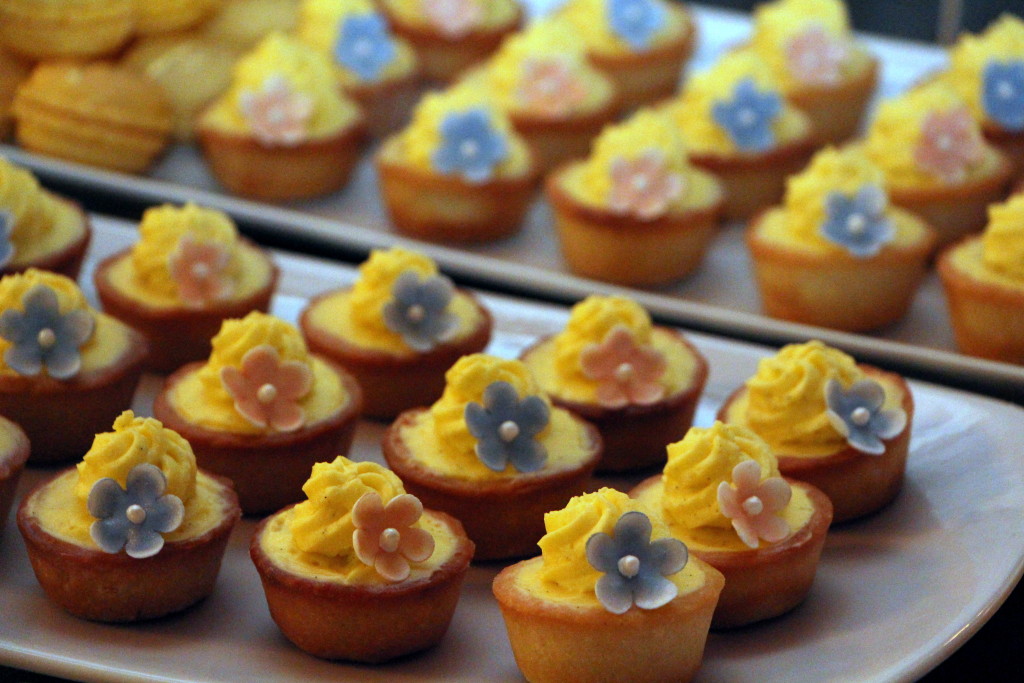
The mini tarts had a layer of baked almond cream and was topped with mascarpone mousse and little gumpaste flowers.

IMG_2603 IMG_2596

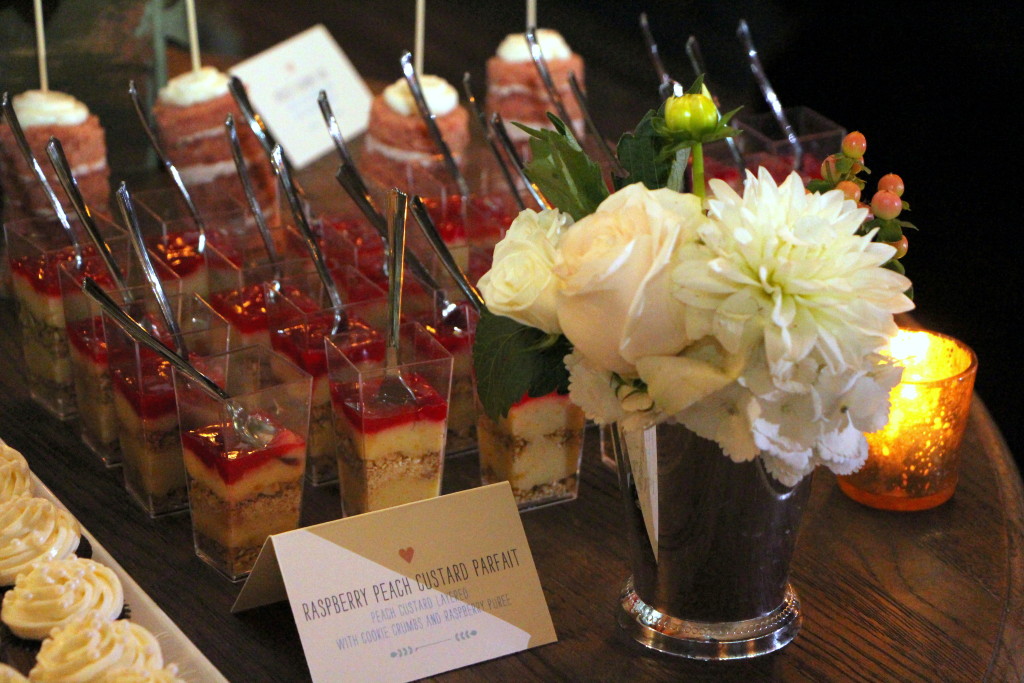
To add variety in height and shape, I also had parfait cups filled with layers of granola, peach custard and raspberry puree. The photo I took of them was unfortunately a bit dark.

IMG_2591

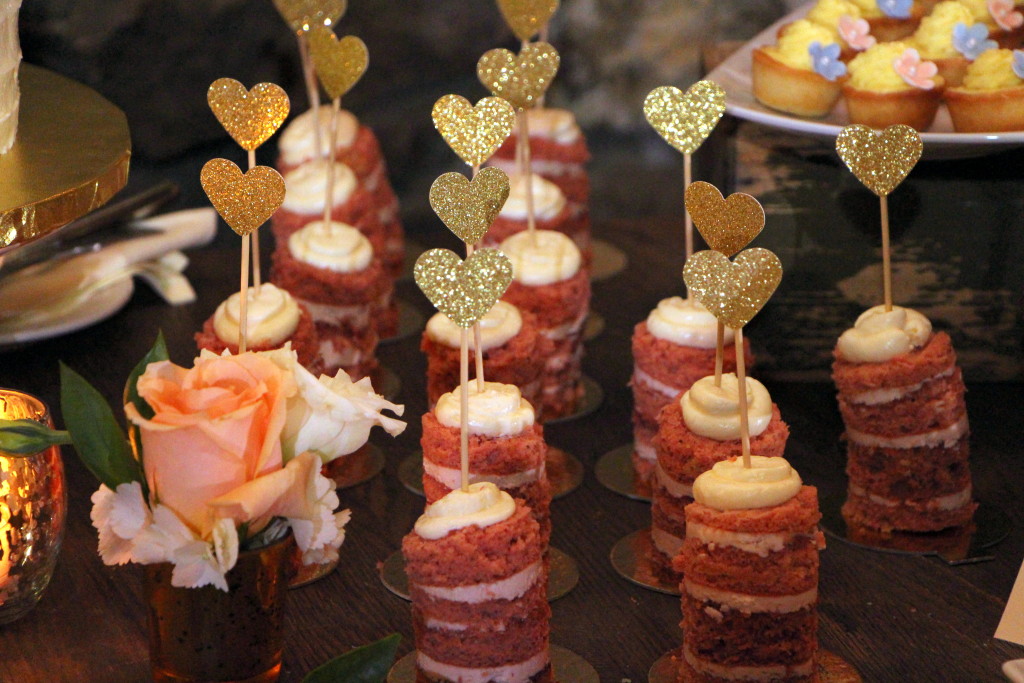
The wedding couple’s wedding cake was three tiers, but only the top tier was actual cake for cutting purposes. The bottom two tiers were dummy cakes. The cake was a strawberry layered cake with Chambord buttercream and in order to share this with guests, I also created mini cakes with golden heart skewers added by the bride. That was actually the most challenging item of the event, as I was exploring different cake textures and cutting techniques and learning as I went. I certainly learned a lot for future events!

IMG_2595

Photo below by onelove photography:

sm044

1 Comment

1 7 8 9 10 11 40