Greek Yogurt Panna Cotta

| Uncategorized

A lot of my friends take interest in what dessert I might order at dinner, as if having gone to pastry school has somehow elevated my taste. I’m not sure that it has . . . but I do tend to order things that I know I couldn’t make easily. Notwithstanding, one of my favorite desserts to order is panna cotta, which is actually a very simple dessert. It is an Italian custard, basically a “cooked cream” thickened with gelatin. There is something just so perfect about the velvety smooth, subtly sweet custard with a little bit of wobble. It is a great pairing with so many different flavors, whether fruity or spiced.

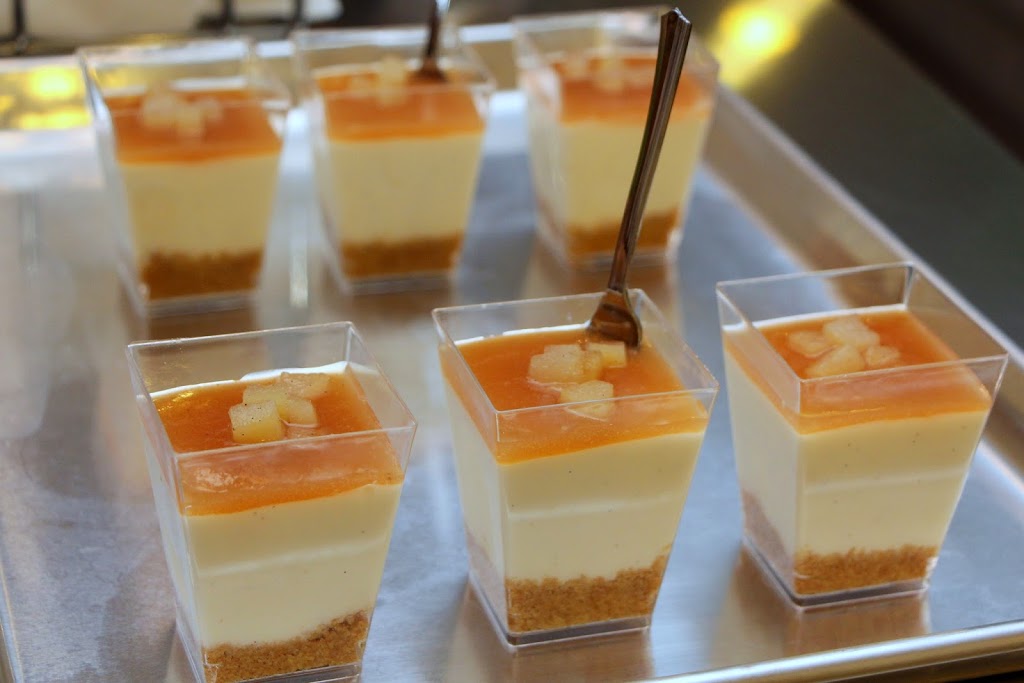
This version that I made recently for my own housewarming adds Greek yogurt to the mix, which perhaps makes it less of a true panna cotta, but is still easy and yummy. I added a graham cracker base for texture and flavor, and topped with a pear-apricot puree miroir and some pear compote.

Greek Yogurt Panna Cotta
Makes about four 4″ tarts or 5 oz. cups

Ingredients:
  • 250 mL heavy cream
  • 40 g granulated sugar
  • 2 sheets gelatin, bloomed (about half a packet of powdered gelatin)
  • 175 g Greek yogurt
  • ½ t vanilla extract (or vanilla paste, or a whole vanilla bean)
Directions:

  1. Heat half of the cream and all of the sugar until the sugar dissolves. Add the bloomed gelatin.
  2. Whip the remaining cream lightly (no peaks should form).
  3. Combine the hot cream with the yogurt and stir with a spatula. Let cool.
  4. Add the lightly whipped cream to the mixture.
  5. Pour into molds and chill.
  6. Add optional flavoring on top (I mixed about equal parts Bosc apple puree with apricot nappage).
  7. Insert cute little spoon and enjoy!
0 comment

Wedding | Congrats Tiffany & Jon!

| Featured, Recipe, Weddings

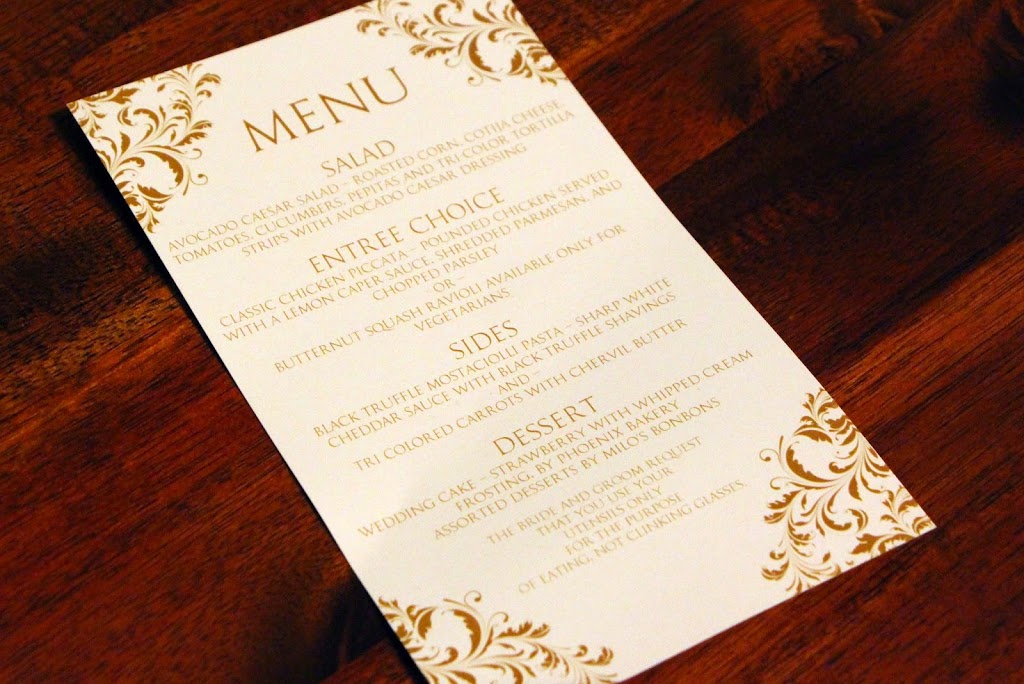
A very belated post, but . . . This past July, Milo’s Bonbons had the honor of appearing on my cousin’s wedding menu! It was a whirlwind of a preparation for the wedding, but such a pleasure to cater desserts for Tiffany’s and Jon’s celebration.

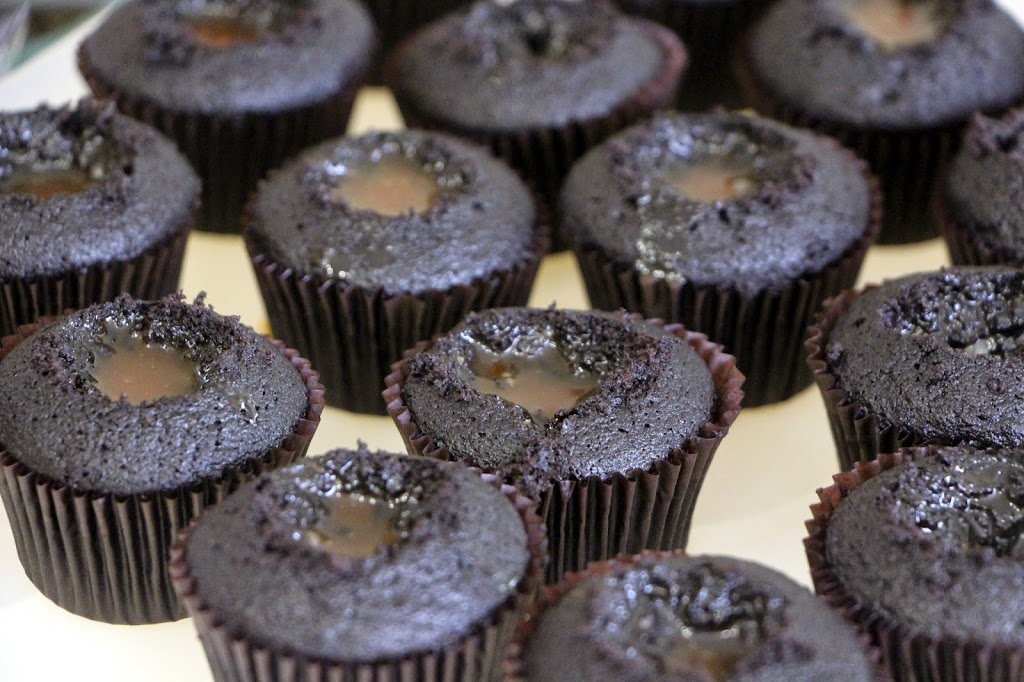
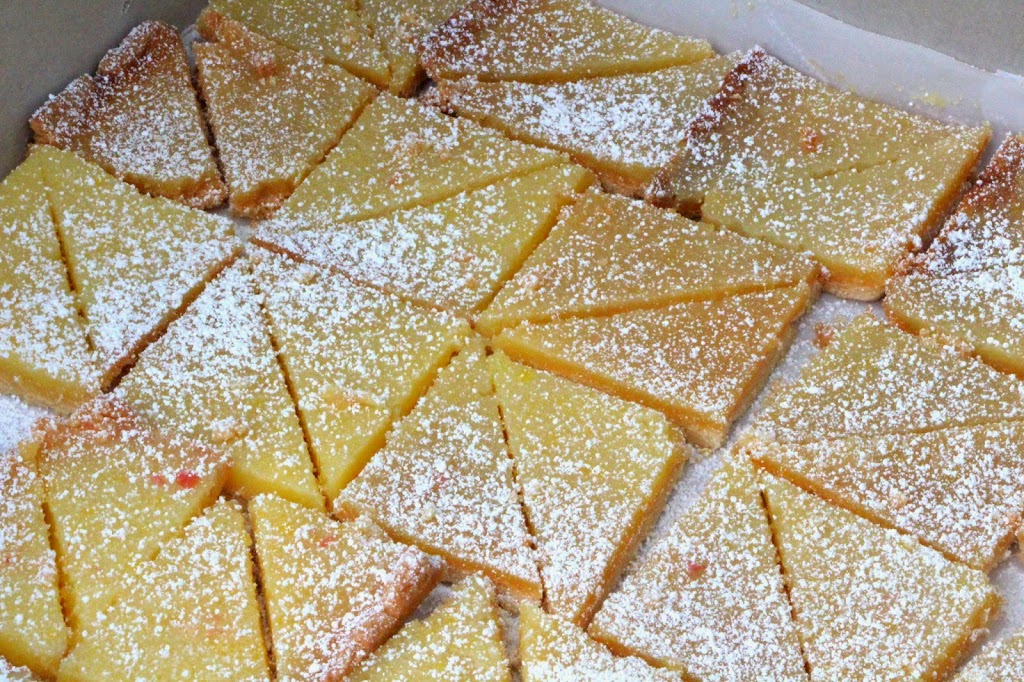
My cousin asked for salted caramel chocolate cupcakes and lemon bars. Believe it or not, it was my first time making lemon bars! I probably should have experimented with that a little more, as I wasn’t perfectly happy with my crust to filling ratio, but it’s hard to go wrong with the flavor. I made both lemon and and lemon-cherry swirl bars as a nod to the wedding colors.

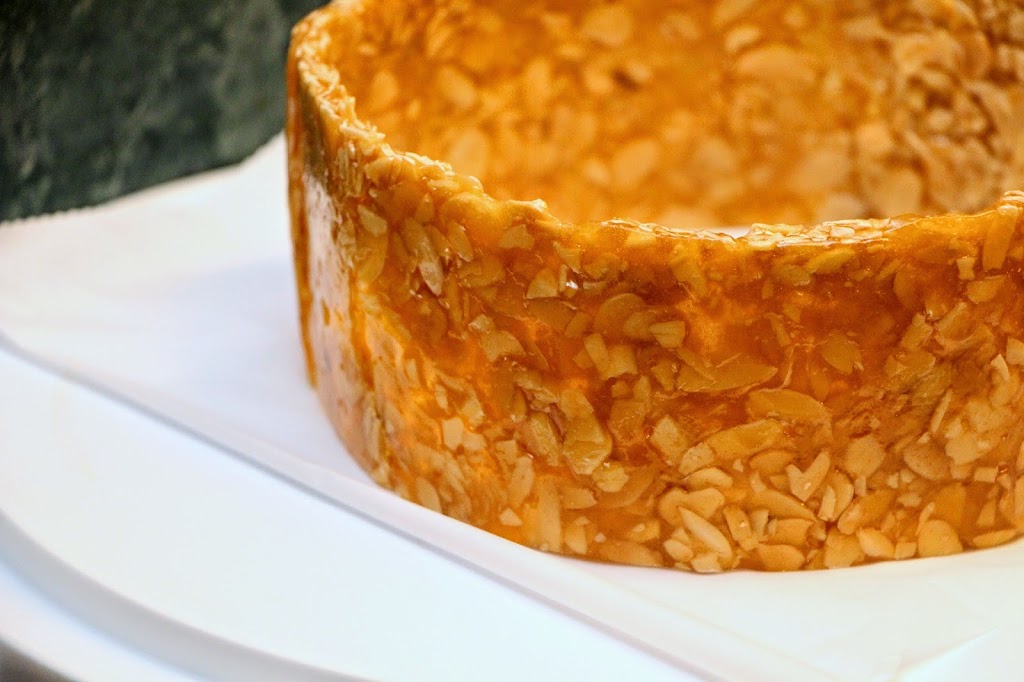
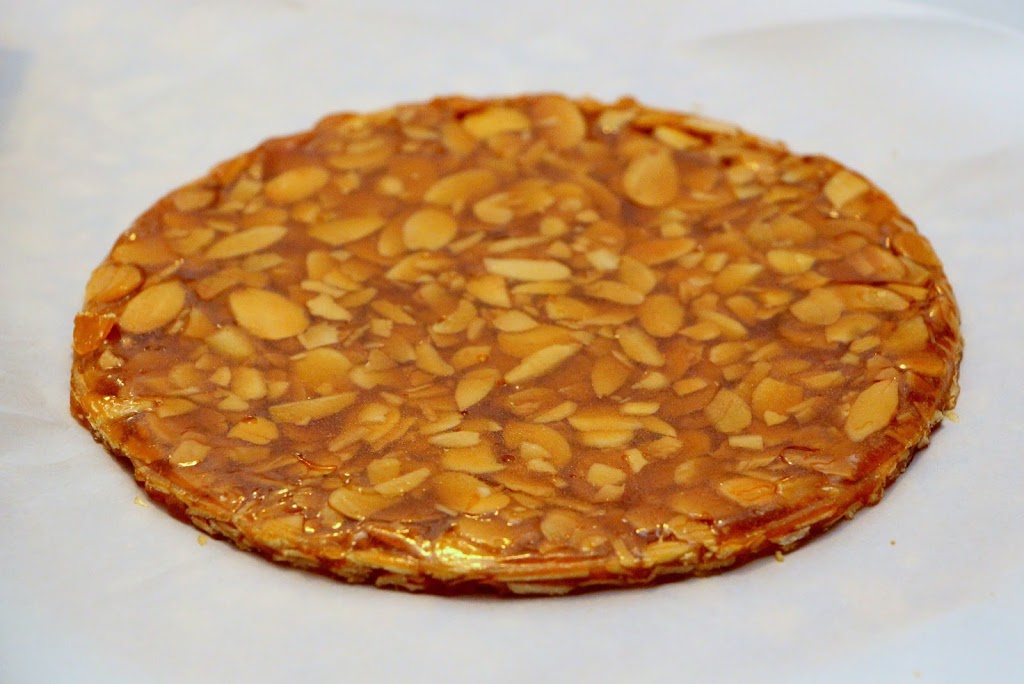
To give the desserts a little something extra, I decided to present the cupcakes and lemon bars on a display stand. I didn’t have enough chocolate on hand to make a chocolate stand and thought nougatine would be a better vehicle for my cousins’s wedding themes of red + gold and succulents. However, in retrospect, nougatine wasn’t the best choice for an outdoor wedding. The display held up, but it sure got shiny and sticky! Next time I’m sticking with using isomalt instead of sugar, or just using something material.

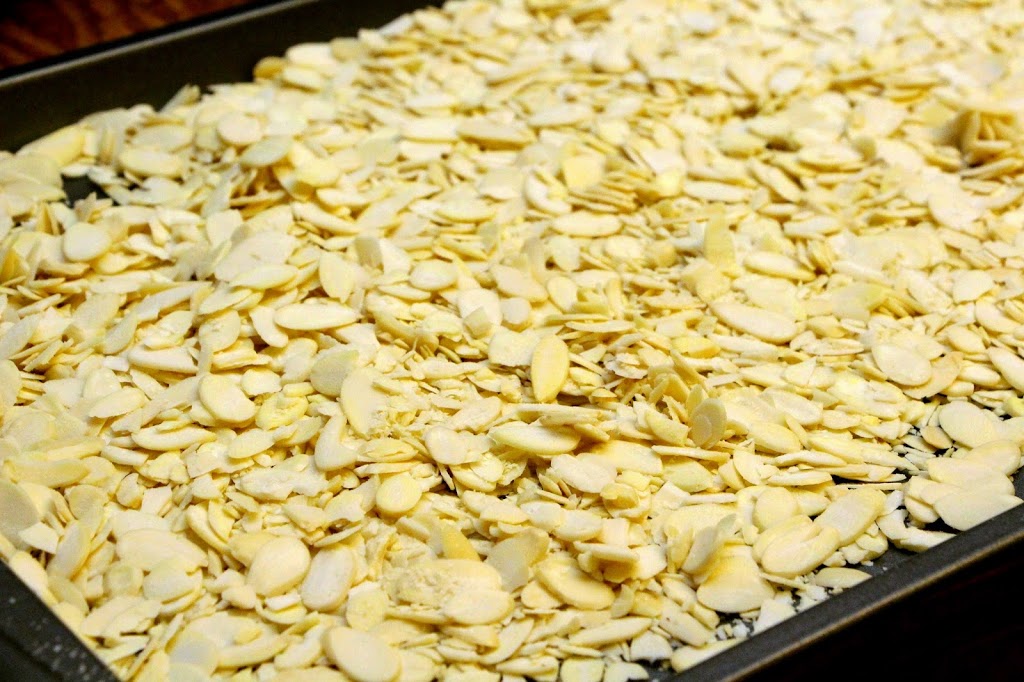
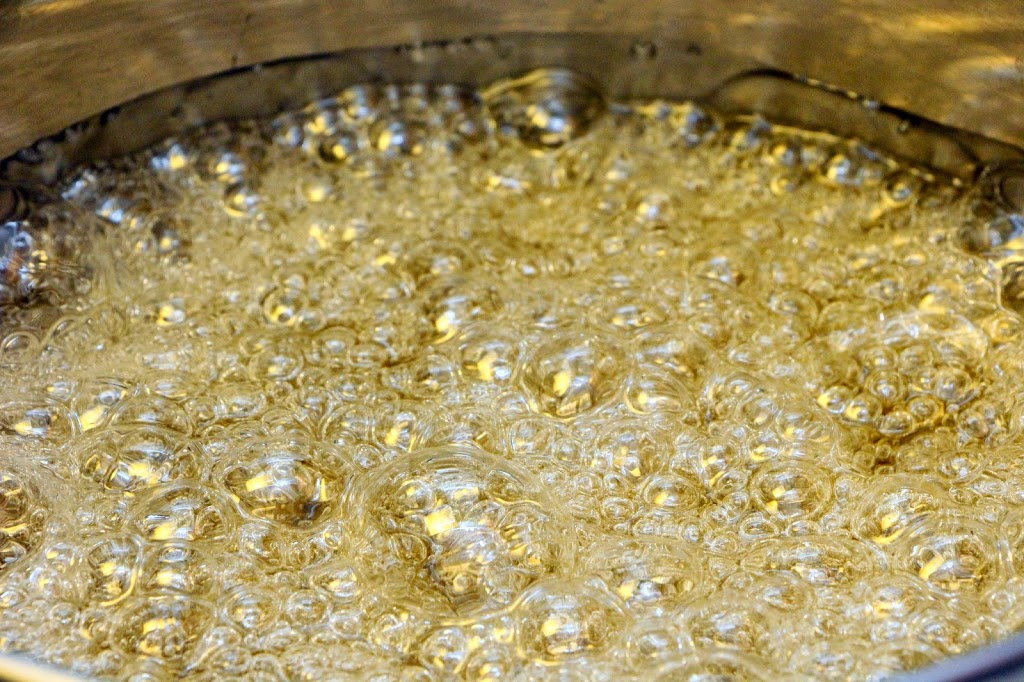
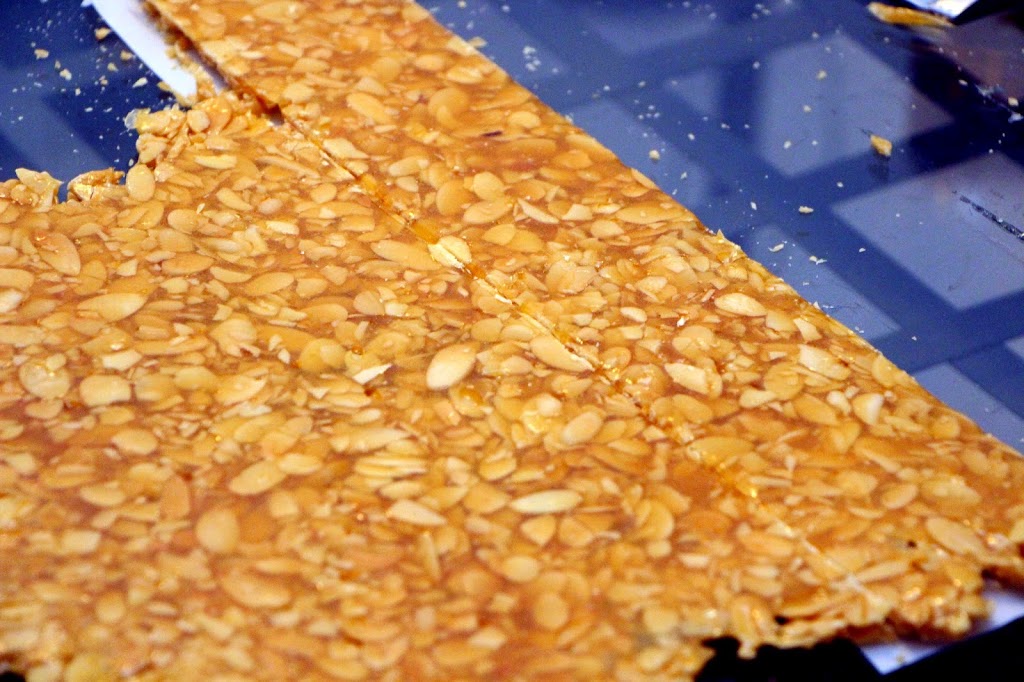
Here is the making of the nougatine, from toasting the nuts, to cooking the sugar and rolling out / cutting the pieces:

 
Nougatine
Makes about a half sheet pan

Ingredients:
  • 600g granulated sugar
  • 250g sliced almonds, lightly toasted and warm

Directions:

  1. Make a dry caramel (or wet, if you don’t want too dark a nougatine) with the sugar in a saucepan.
  2. Stir in the warm, sliced almonds.
  3. Immediately pour mixture onto a nonstick silicone mat and spread as thinly as possible.
  4. Place a second map on top of the caramel and roll out as thin and even as possible. Begin this step as soon as your can handle the heat.
  5. Remove the top map, carefully life the nougatine sheet and place on cutting board or oiled parchment paper. If mat sticks, then caramel is still too hot.
  6. Using a knife or cutting mold, cut desired shape, working quickly. If nougatine is too cold to cut or shape, place back on silicone mat and into a 350 degree oven for just long enough to soften.

I was quite limited by the size of my oven at that time, which couldn’t fit a full sheet pan, and thus limited the size of my cylinders and ovals. But, I’d like to think there was something “organic” or “artistic” about the pieces I built with 🙂 I added succulent trimmings to my nougatine leaves/petals to tie everything together:

1 Comment

Thanksgiving | (Part 2) Apple Rose Tarts & Pumpkin Cake Tarts

| Holidays


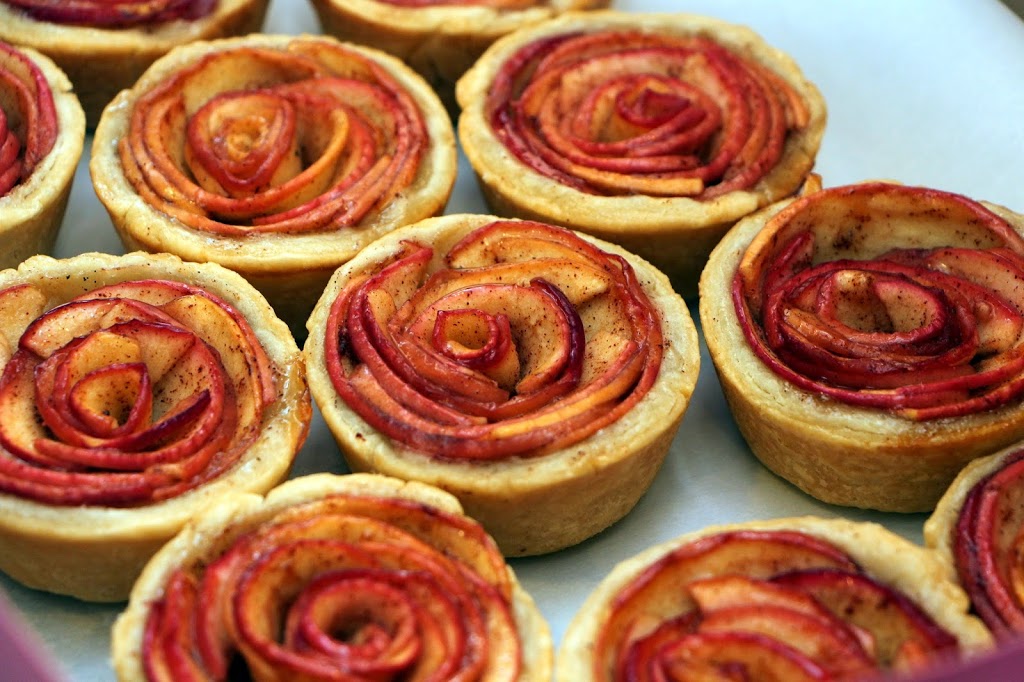
Continuing with my theme of using ingredients I had on hand, I also made apple rose tarts and pumpkin cake tarts for Thanksgiving (for co-workers, Friendsgiving and the actual family get-together). Although quite simple in theory, the apple tart in particular can be labor intensive if you hand slice your apples like I did. I think I told myself I was practicing my knife skills . . . but I would recommend using a mandolin slicer if you’ve got one!

The apple tarts are inspired by my baking friend Anjali, who in turn was inspired by a Pinterest post. The crust is a Pâte Brisée, and the rose is made from thin slices of Gala apples, coated with some sugar, cinnamon, lemon juice and melted butter.

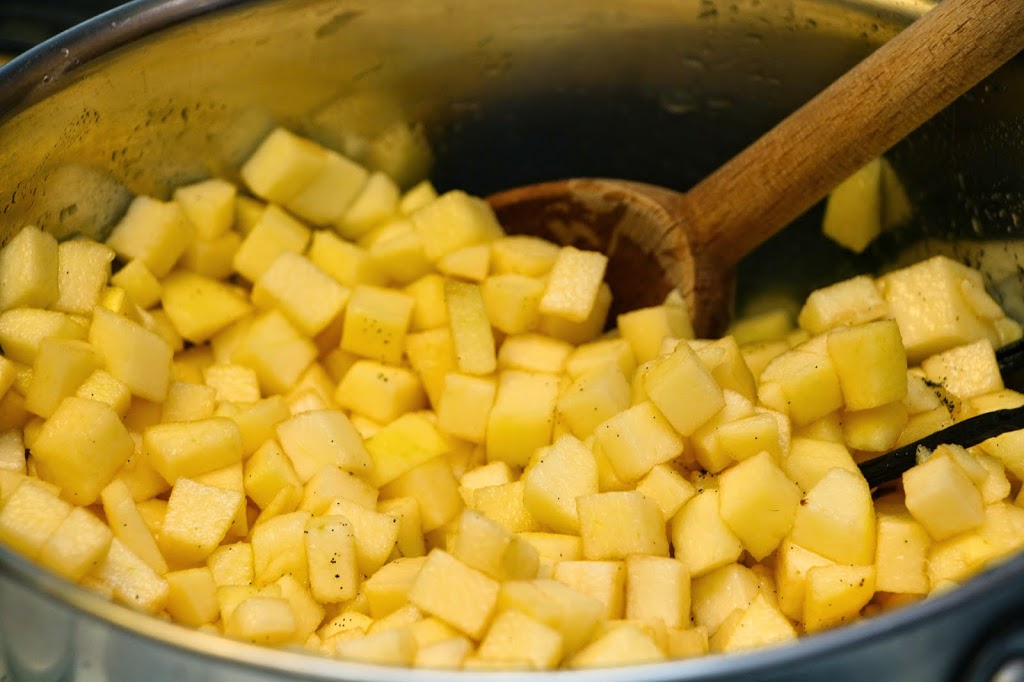
I also added an apple compote (using Golden Delicious apples) underneath the rose to add flavor and moisture, which I think makes a big difference. After baking, I brushed with some apricot nappage for a glaze.


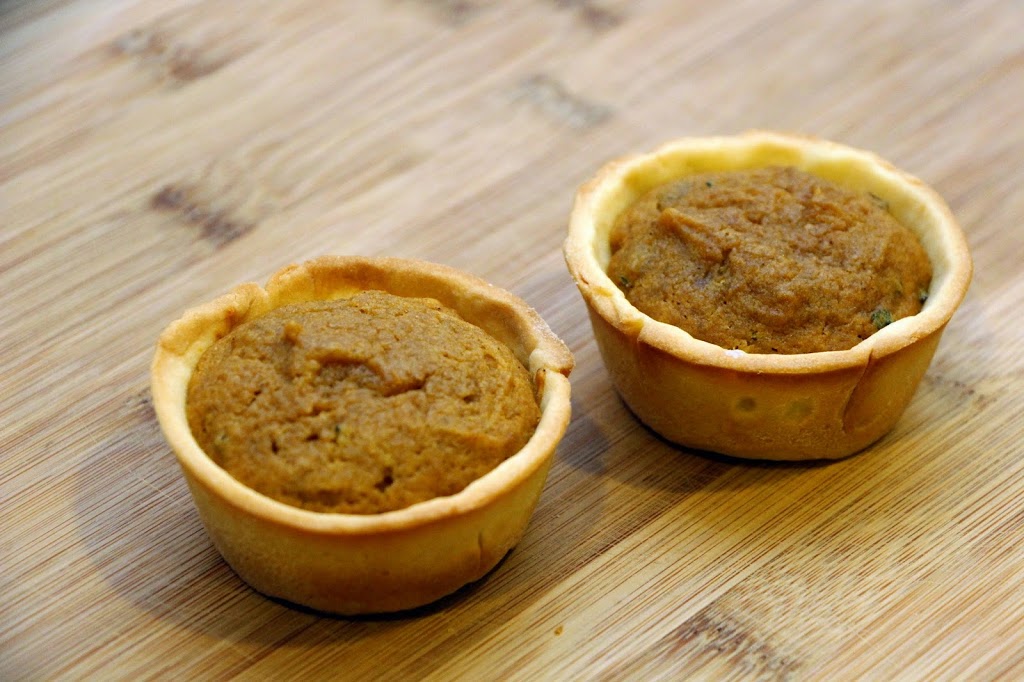
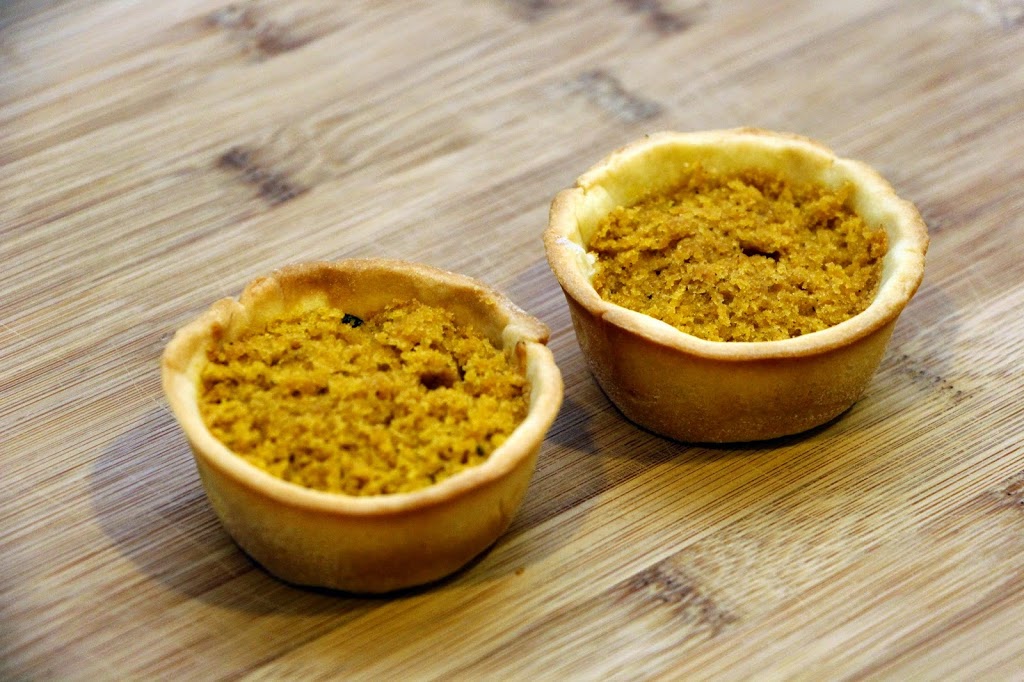
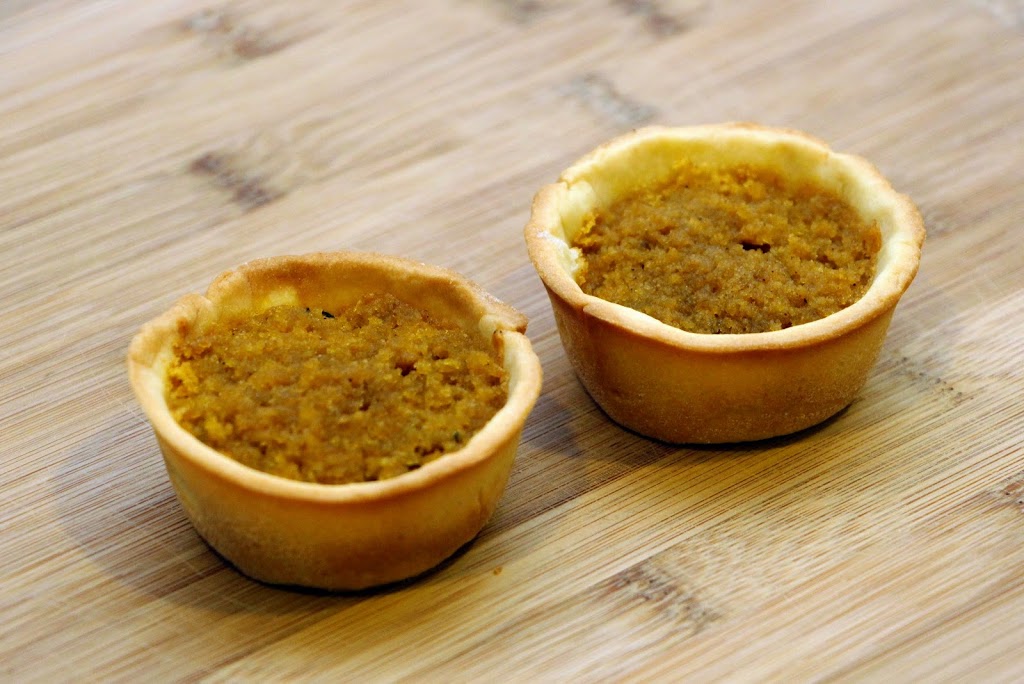
The pumpkin tarts use a Pâte Sucrée crust, baked with the same pumpkin brown butter cake batter I used for my Thanksgiving cake.


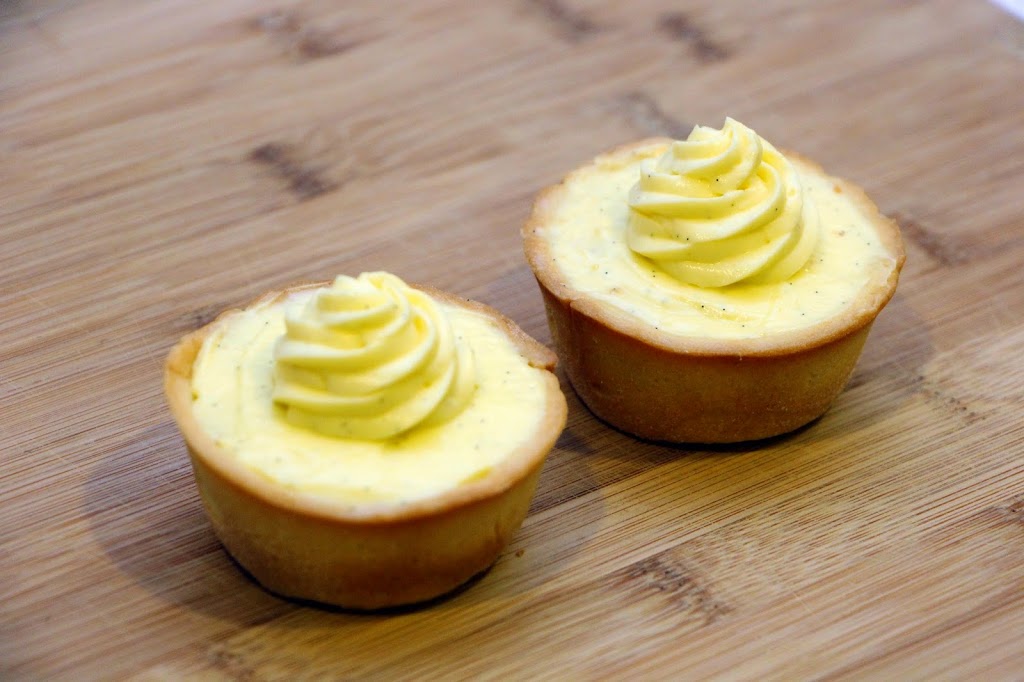
After baking, I leveled the top of the tart-cake, brushed on the brown sugar simple syrup, and then topped with mascarpone mousse.

Both were tasty treats and great for gifting. My personal favorite is the apple tart!

0 comment

1 11 12 13 14 15 40